


Your cart is empty !
It's flat around here...
Before even handling a kitesurf kite, it is essential to understand how it works. Understanding the fundamental concepts helps you better anticipate the kite’s reactions and develop the right reflexes from your very first sessions.
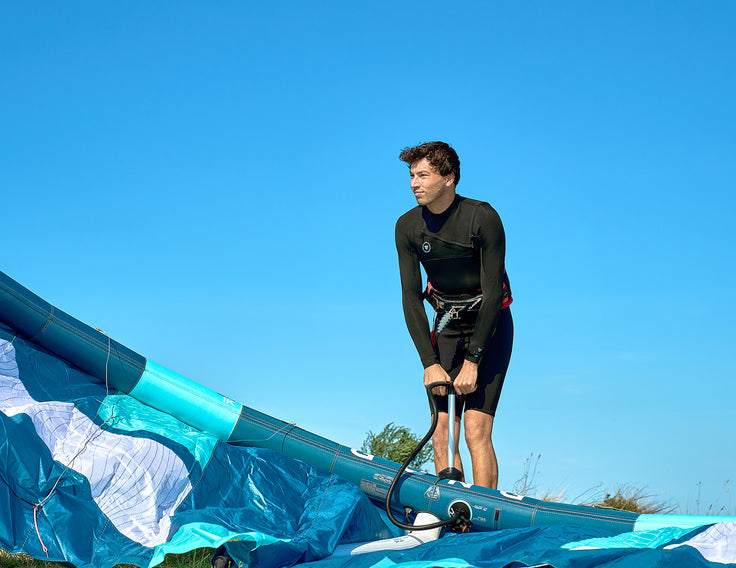
Important, learning to fly a kite should always be done progressively and under supervision. Beginners generally start with a small trainer kite on the beach to understand the effects of the wind, positioning within the wind window, and the first steering movements. Once these basics have been mastered, training continues in the water with a kite suited to the day's conditions, particularly through body drag exercises that teach you how to control the kite’s power before even getting on a board.

A kitesurf kite is a traction kite designed to generate enough power to pull you across the water. Unlike a simple beach kite, it is controlled using four lines and connected to the rider through a harness to which it is attached.
You have two front lines connected to your chicken loop, and two rear lines connected to the ends of your bar:
The two front lines (or power lines) carry most of the load generated by the kite. They transfer the kite’s power directly to the rider’s harness.
The two rear lines (or steering lines) are used to steer the kite. When you pull on the right side of the bar, you shorten the right rear line and the kite turns to the right. The same principle applies on the left side.
Steering therefore relies on a balance between these four lines. Smooth, progressive movements are essential to maintain control of the kite.

The bar is not only used to steer the kite: it also allows you to manage its power through the system known as sheeting in and out. What is commonly referred to as the sheeting system is the section that joins the two front lines in the center of your bar, usually covered with a protective sleeve as shown in the image below. It allows the bar to slide from the chicken loop up to a stopper where the cleat (the trim system, see below) is located.
You can therefore sheet in or sheet out to manage power simply by sliding the bar along this covered section.
Sheeting in means bringing the bar closer to you. The kite’s angle of attack increases because you are pulling on the rear lines, generating more power and pull.
Sheeting out means pushing the bar away. This releases tension on the rear lines. The angle of attack decreases and the kite produces less power.
Managing power in this way is a fundamental kitesurfing skill. A good rider does more than simply move the kite around; they constantly adjust the sheeting to match the wind conditions and their speed.

In addition to the sheeting system, kitesurf kites are equipped with a trim system located above the depower line. Its purpose is to modify the length of the front lines in order to adapt the kite’s power to the riding conditions.
When you trim in (shortening the front lines), the kite becomes less powerful and pulls less. Conversely, when you trim out, the kite regains more power. The trim system allows you to compensate for changes in wind strength and maintain a comfortable riding position without having to ride constantly with the bar sheeted out.
It is important to understand that the trim system does not replace sheeting. The trim is used to set the kite’s baseline power, while sheeting allows you to adjust that power continuously while riding.

To adjust the trim, gradually pull the loop toward you until you find the desired setting. To reduce the trim, also pull it toward you so the Dyneema line releases from the cleat, then let it out and readjust it as needed.

The wind window is the area within which the kite can move in front of the rider. It is often visualized as a quarter sphere or a semicircle positioned downwind of the rider.

This window is divided into several zones:
Located directly above the rider’s head (12 o’clock), this is the position where the kite generally generates the least horizontal pull. It is often used when preparing to start or while waiting.
Along the sides of the wind window, the kite is less powerful because it receives the wind less directly. These areas are used to stabilize the kite or reduce pull.
At the center of the window, directly downwind, the kite develops maximum pull. When the kite moves quickly through this zone, it generates significant acceleration. This movement is what allows you to get up during a waterstart or build speed.
Understanding where your kite is within the wind window is essential for anticipating its power and riding safely.
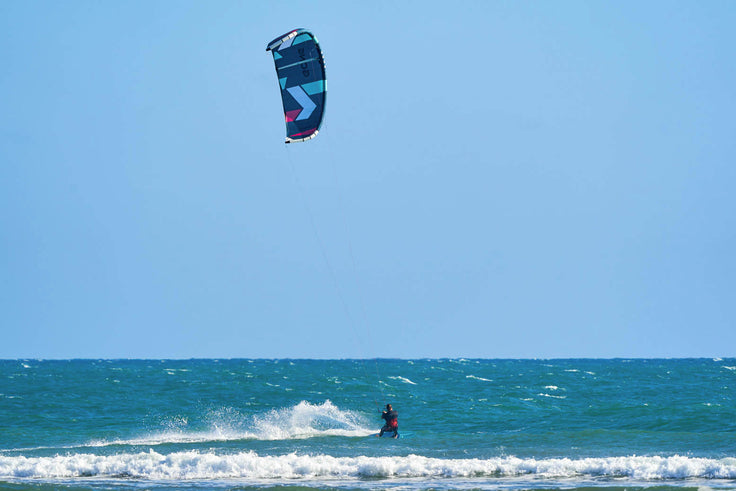
Below, the kitesurfer positions the kite at the edge of the window (around 10 o’clock) for minimal pull.
 Kitesurfer: Deury, GONG team rider, riding a Sizzle Carbon Pro, a Vertigo Aramid at the edge of the window, and a FeelX bar.
Even though videos and tutorials can help you better understand how the equipment works, kitesurfing is not something you learn on your own.
Your first sessions should always be carried out with a qualified instructor at a suitable kitesurf school. Kitesurfing requires mastering many aspects: reading weather conditions, safety procedures, equipment handling, launching and landing the kite, emergency release systems, and right-of-way rules on the water.
Professional instruction helps you develop the right habits from the start and progress quickly while minimizing risks for yourself and other users on the spot.
Before focusing on performance, concentrate on mastering your kite. Precise, instinctive kite control is the foundation of all future progression in kitesurfing.