Your cart is empty !
It's flat around here...
Welcome to a sport with fascinating potential for all board sports enthusiasts!
With your lowkite in hand, you can already feel its lightness and simplicity… and you’re right. That’s the beauty of this discipline: minimalist equipment, no fuss, yet remarkably effective.
The lowkite is the definition of plug & play fun on the water: take it out of the bag, unfold it, and you’re ready to go!
In this tutorial, we’ll guide you step by step as you get to know your new session companion.
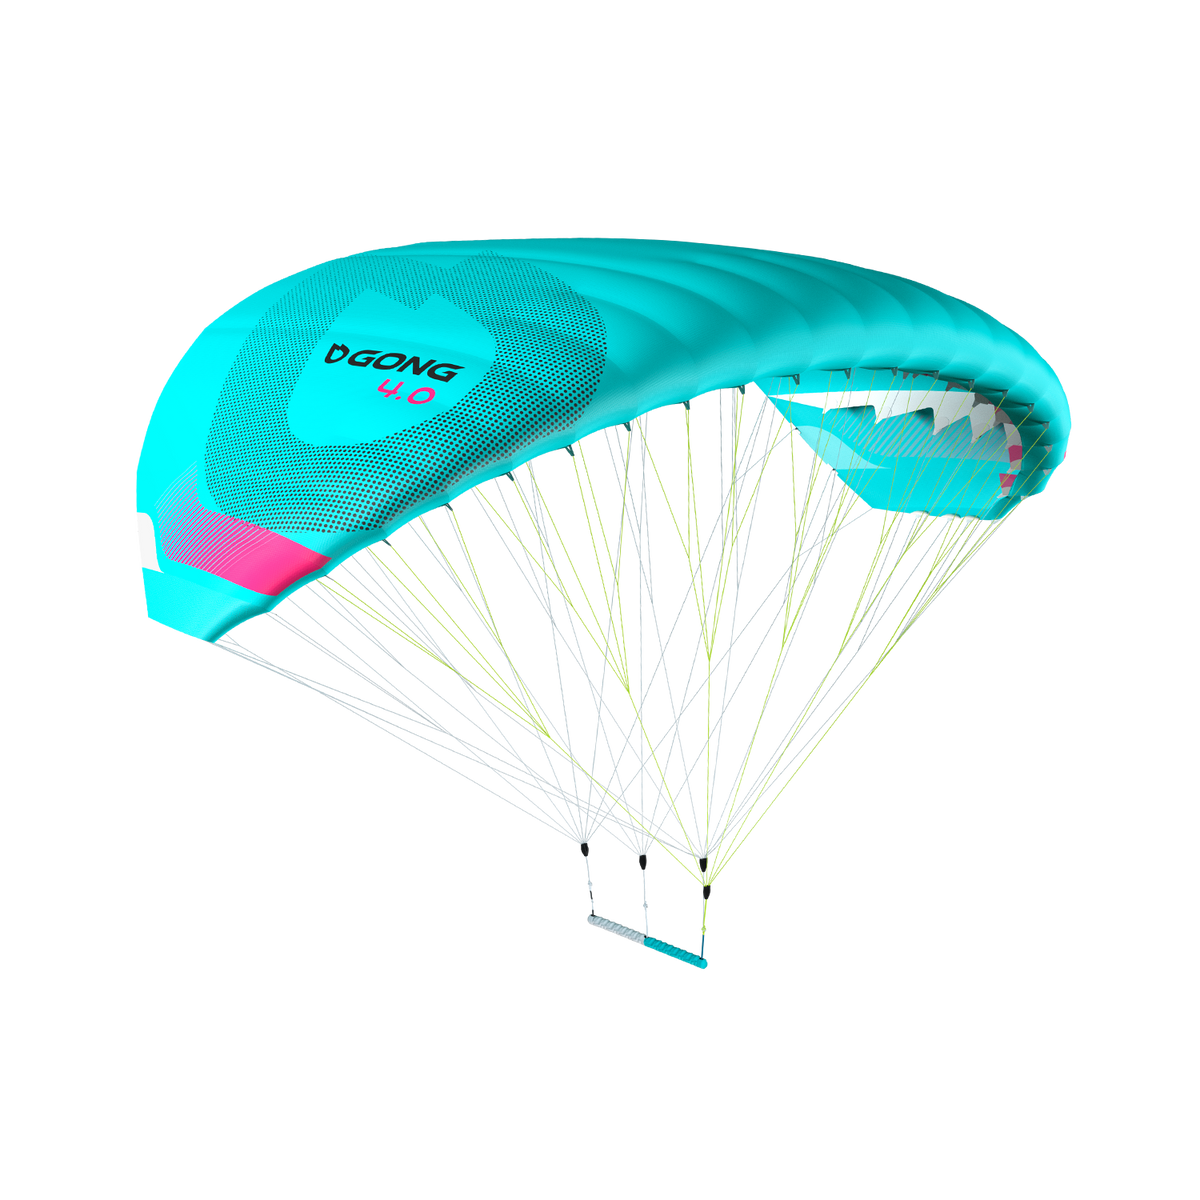
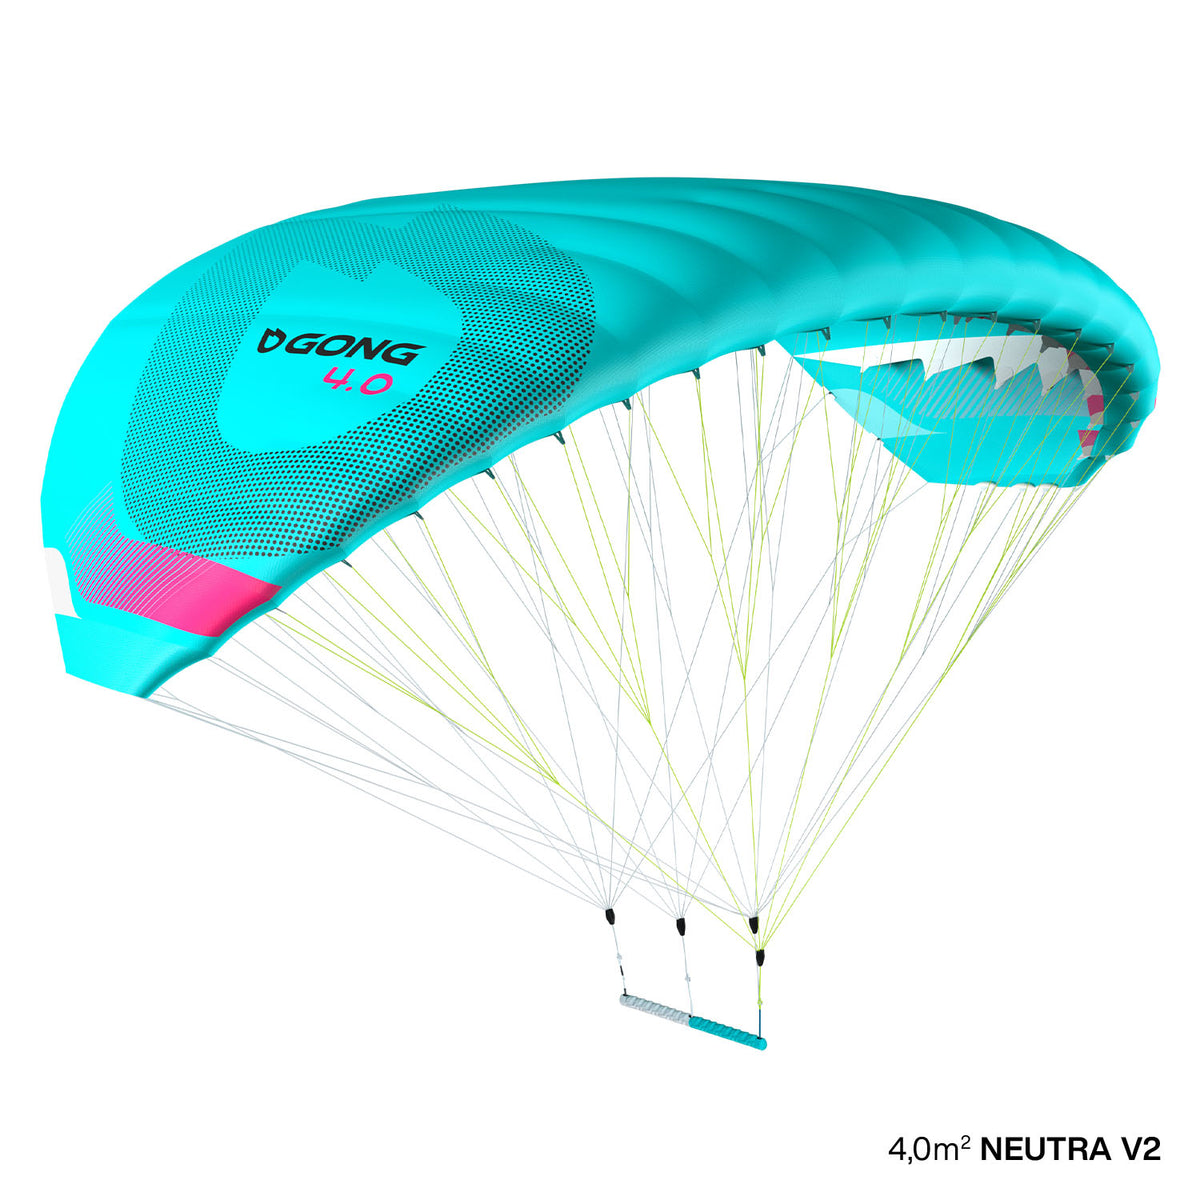
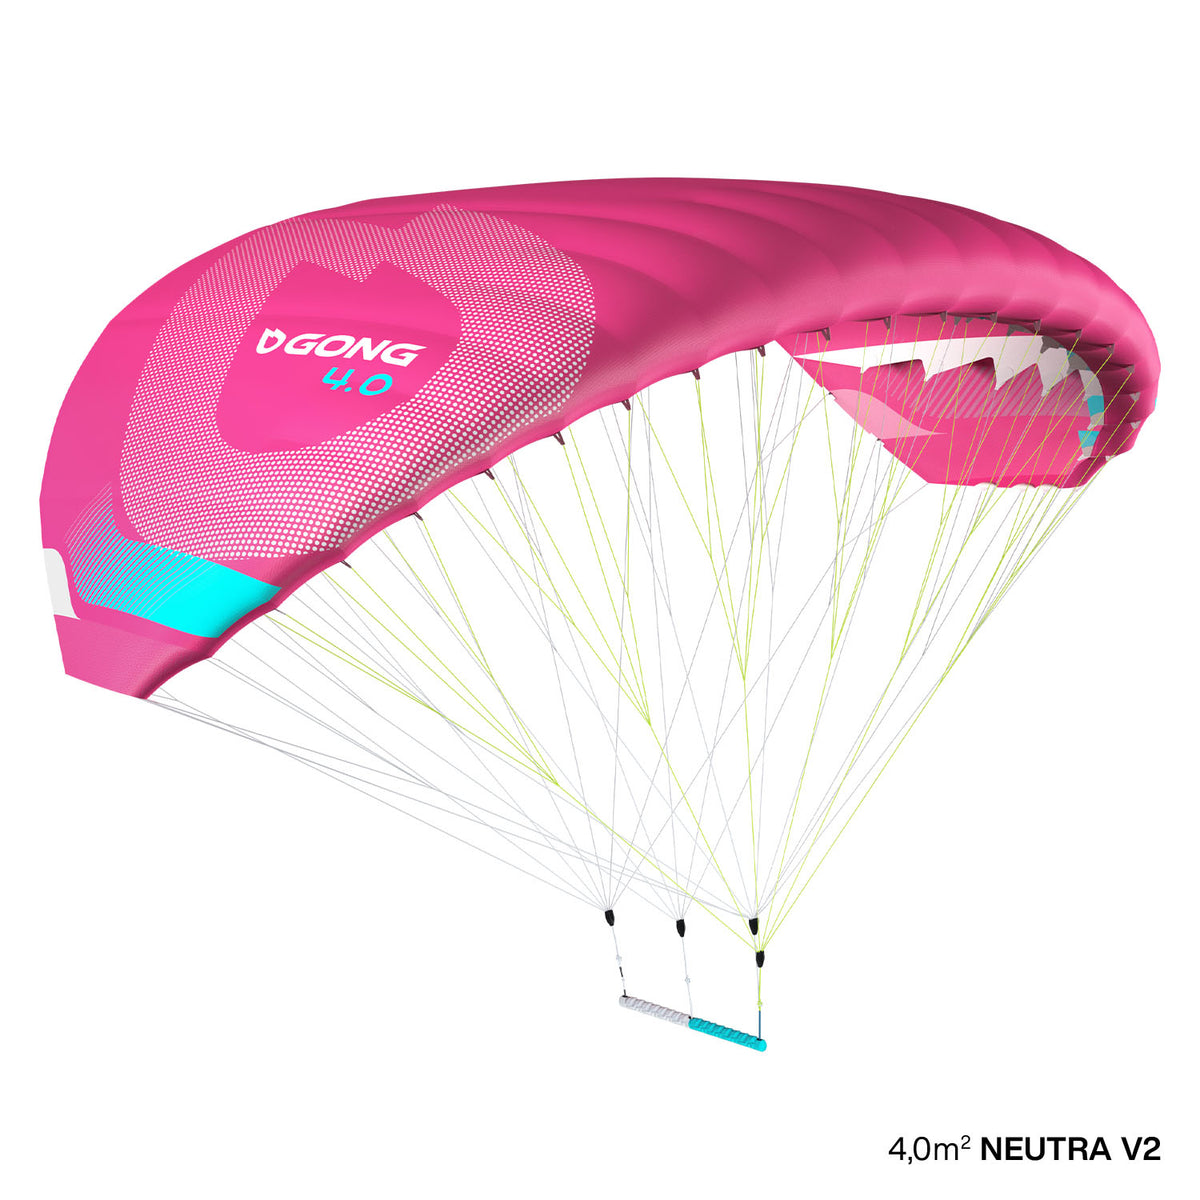
 Foiler: Mathieu, GONG team rider, with his Lowkite Plus, Cruzader Diamond FSP Pro 2025, and Veloce foil.
A lowkite is flown like a kite, within a wind window facing you when the wind is at your back. The principle is very similar to that of a classic kite, with one key difference: the wind window is much smaller.
Indeed, on a lowkite, the bar is connected directly to the bridle, which limits the flight window to the bridle’s own length. This gives you more direct control but a more compact range of action.
On a lowkite, the bar is attached at three fixed points:
To the leading-edge bridle (A) (in yellow);
To a second bridle row (B);
To a third row called brake lines.
This setup creates a distinctive piloting feel—both intuitive and responsive—which is explained in detail in the video below.
A lowkite is self-stable in steady wind when held one-handed by the top of the bar.
You control power by gently pulling the brake (tilting the bottom of the bar toward you). The lowkite then descends or drifts back toward the center of the window, where traction is strongest.
Pulling the brake all the way completely neutralizes your lowkite wing—useful for packing it up on the water or on land.
Releasing the brake slightly makes your lowkite accelerate and climb back up in the wind window.
To steer left or right, simply rotate the bar like the hand of a clock.


1 comment
Thanks for doing this tutorials Gong!
It’s very very helpful.
Please keep posting more of this.