


Your cart is empty !
It's flat around here...
Here are some tips for getting started and progressing in SUP foil:
The shorter the board, the cooler it is to fly, sure, but remember that paddling on a short 6’ board can be a hell to start with. One stroke of the paddle to the left, and you turn 45° to the right. You must therefore first have a good experience on a board of 8′ and less, or spend time on the flat to practice rowing straight, and alternate phases of acceleration, in order to simulate take offs.
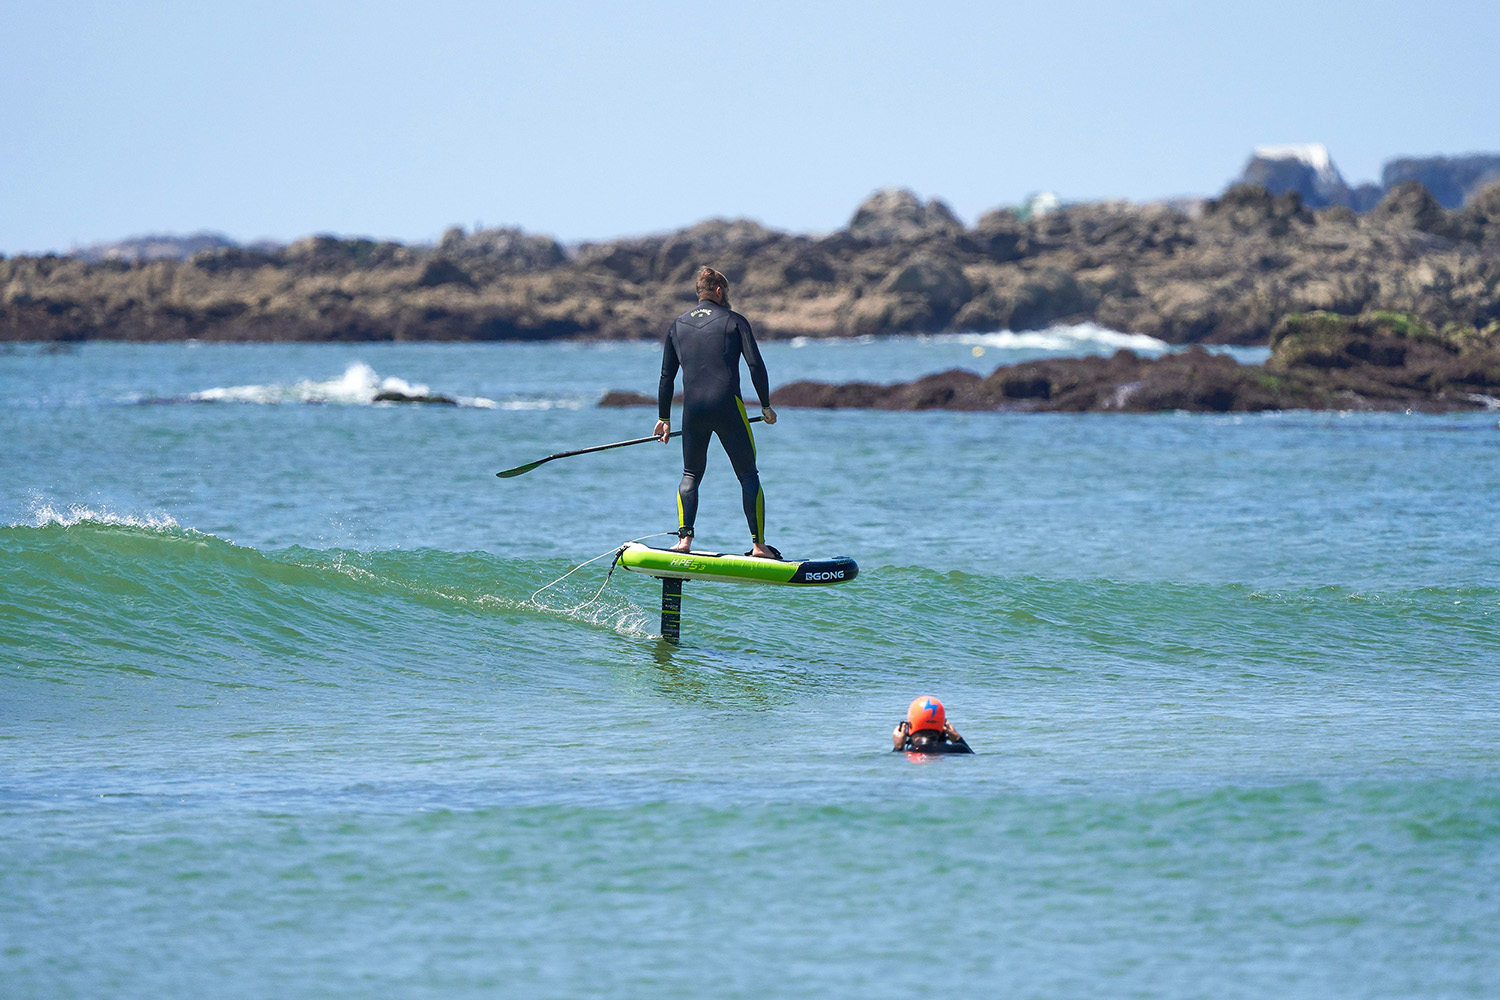
If you are unfamiliar with short boards, or if you have a large build, you can easily orient yourself towards a SUP foil board around 7’, the Mob and Zuma 7’3 are perfect for that. If you are already well experienced with a very good paddling technique. You can go for a shorter Zuma, but still maintain comfort, which will translate into width and volume. Also note that the Zuma, as well as the HIPE 6’5 and 7’5 are equipped with the anti-drift system. This fin, placed under the hull in the first front third of the board, will be of great help in helping you row straight.
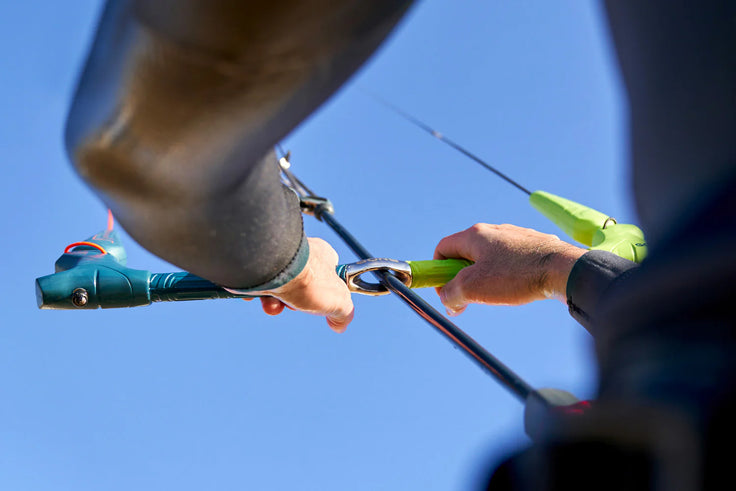
Take a paddle cut to your size as much as possible, no more. You can also reduce the size of your paddle (- 5 to -10 cm), this will help you row more dynamically and gain stability. Choose a paddle with a small to medium blade surface, to limit the row effect, and avoid turning around with each stroke of the paddle.
Going on a short board also means working on your 3D balance. Because you will suffer from lateral imbalances, but also longitudinal, in short, things will move in all directions. So in addition to the rowing technique, you will need to row with your feet staggered. Your front foot placed slightly in front of the handle, toe aimed at the nose, and your back foot, placed slightly behind the handle, and open at 45 °.
The easiest way to explain this gain in stability is to stand with your feet together in front of a friend, and ask him to push you (Editor’s note: without momentum!), There is a good chance that you will step back. Then start again but this time by shifting your feet. Unless your friend is part of a rugby team, you should keep your initial position by staying firmly planted on your 2 feet. In SUP, this method will allow you not to fall back when your board is pushed by the swell during the take off, to be more flexed on your stance, with muscle cladding, and to have a much more efficient paddle. And most importantly, you can flex forward by putting 80% of your weight on the front leg, this will force the nose of your board to engage in the slope of the wave. This position will also help you switch to surf position faster.

For the foil, prefer a front wing that offers lift at low speed. When you start, the parallel with surfing is very easy to understand, you choose waves with little energy, and you are either in the foam or far from the wave. A beginner in surfing will therefore prefer a board with length and volume to compensate for its lack of technique or placement on the wave. In foil, it’s exactly the same thing, we will start with a thick profile that will be supportive at low speed. So wherever you are “badly” placed on the wave or swell, and even at low speed, you will fly. A thick profile will be stable and slow, but generally, when starting out in foiling, speed is really not a priority.
The mast size used for this practice is around 65/70 cm, but to start smoothly without being afraid, you can do your first sessions with a shorter 45/55 cm mast. You will familiarize yourself more easily with the sensations of flight, and you will gain confidence more quickly.
In our range, the Rise and X-Over wings will be the most suitable. The Rise if you are a total beginner, the X-Over, if you already have a little experience in foiling, or if you are likely to progress very quickly as soon as you test a new sport / medium.
A spot that you know, on which you have your bearings. Choose waves empty of any surfer, waves that are too small and too soft, which will be neglected by other sliders. Waves of an ankle / knee size may be enough, as long as you have enough bottom for the foil.
To start off well, the size and shape of the waves are essential. Slow waves, with little slope, from a knee size to a thigh size max, which should have a hard time breaking, and which will die in too much water. It could be a current’s edge, or a reef with too much water at high tide, for example. Ban all hollow waves first, consider a hip-sized wave to be a huge wave, so even if you are in a hurry to test your freshly received material, be patient, and choose the optimal conditions for your beginnings.
 3) The first take off
Use straps ! Whether this is your first session or whether you are an expert, the straps will be an undeniable asset. If you are a beginner, you will have a precise mark and have the front foot always well placed, knowing that it is this foot which will give 80% of the balance to the whole. The front strap allows you to gain control because you can correct any small errors in the management of the foil’s trim. And then, it allows more pressure on the turns. And that’s a big plus for pumping too, as you can not go up with a strapped foot but push more forward and make the pumping more efficient. For your first sessions use only the front strap, and don’t worry if you don’t put your rear foot in its strap, it will come later.
The hardest part at the start is to handle the takeoff’s acceleration, you gain speed, and you fly but without really deciding it. So let the board slowly descend to the bottom of the wave, on a flat area. Tilt forward, this will allow you to put pressure on the front of the board, you will prevent the foil from getting up too early. Do not force the flight, but rather try to prevent the foil from flying at first. So stay relaxed, and keep a good flexion with your stance.
To make it easier to control the foil, adjust it towards the back of your board.
The first mistake is generally to be surprised by the rise of the foil, and to have the reflex to put your weight on the rear, the foil will then pitch up, most of the time this ends with a stall of the foil followed by a more or less artistic splash … What is in question is the speed during take-off, and the later you leave, the higher this initial speed will be.
The flight is a story of small adjustments, very fine pressures. It’s the speed that will make you take off, so as soon as you feel the foil going up, gently lean forward, this will be enough to put weight on your front leg, and stabilize the flight.
Give yourself steps to progress. A few sessions to fly straight dropping with the foam, simply to learn how to stabilize your flight. Then a few sessions to follow the waves, making diagonals, then gradually, you will tighten these diagonals. Your first turns, first wave exits, first pumping, first connections, …
The path may seem long, but with each session, at each stage of progression, you will be rewarded with new sensations. You can complete your learning by other means of flying: towed behind a boat, or quite simply by practicing Wing, you will have much longer flight times, and your learning speed will then accelerate.
There are only two categories of foilers, those which drop after two sessions, generally because of conditions or totally unsuitable material, they scare each other, and give up. Then there are the others that become totally addicted. There is no in-between.