


Your cart is empty !
It's flat around here...
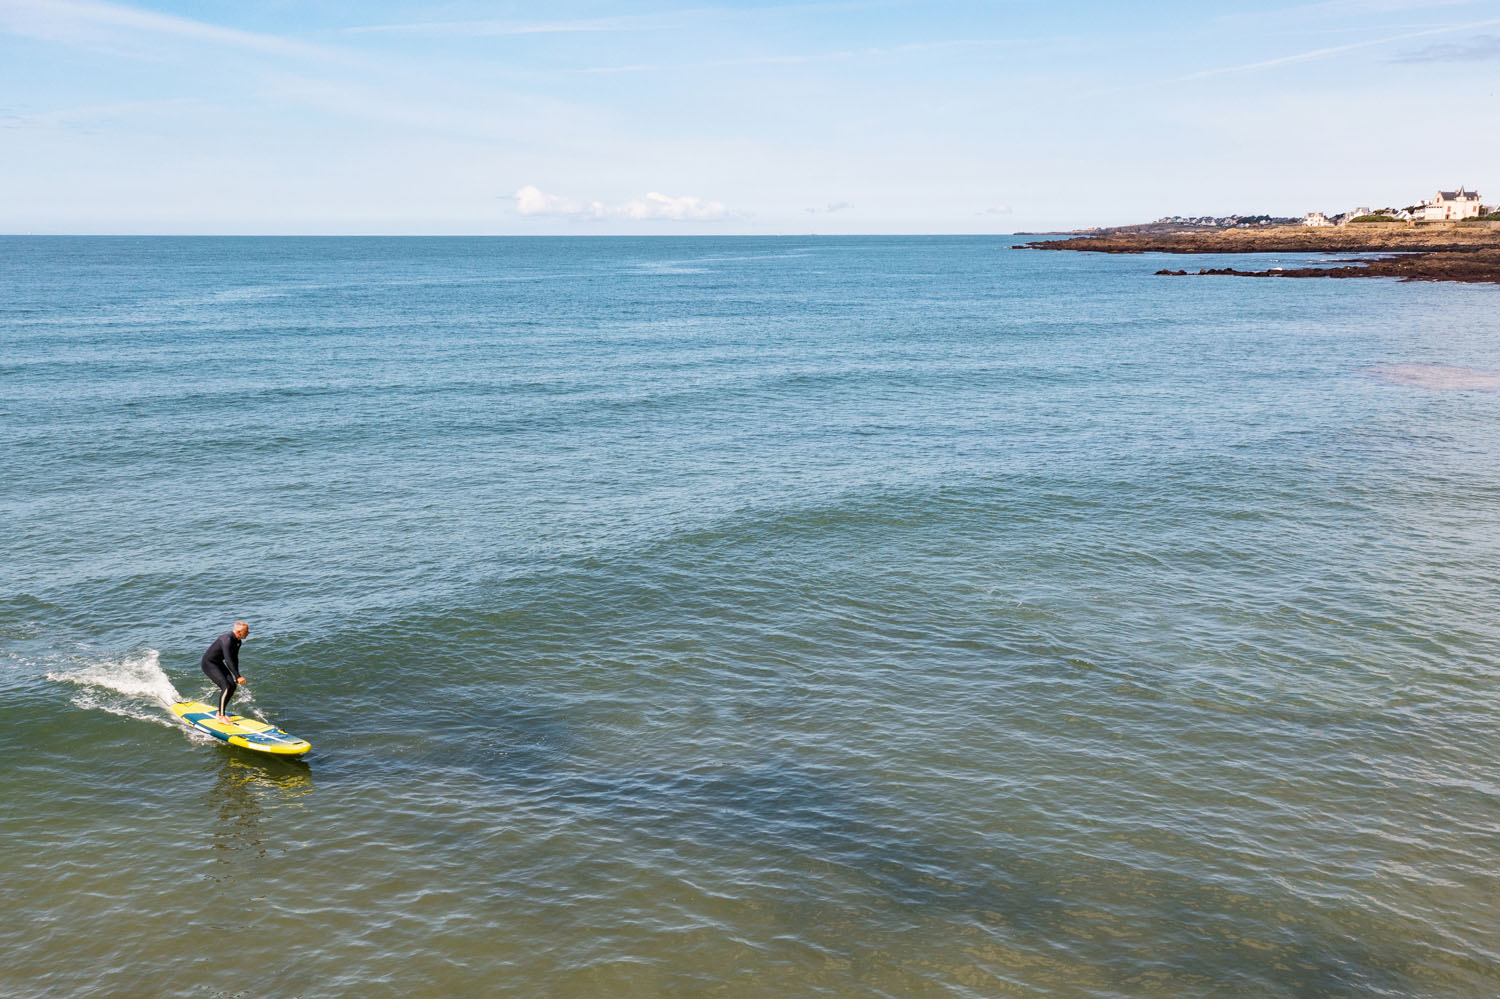
Here are some tips to help you catch your first waves on your new SUP.
Choose easy conditions, ideally long and soft waves between knee to hip high, little or no wind, so the body of water doesn’t force you to ride as if it was a rodeo.
Avoid the crowded spots, so you can focus only on surfing.
Also avoid the wind, the shorebreak, the big waves, and the sea urchins 😉 Pleasure first.
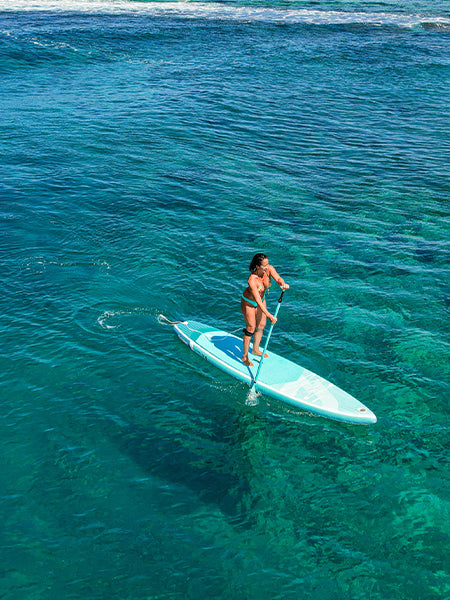
Adjust the height of your paddle to your size.
If you are 1.75m tall, set your paddle to 175cm. This setting allows you to paddle with more frequency which increases your ability to accelerate during the take off phase. You also have more maneuverability, especially to rotate your board, or to regain your balance and correct your mistakes.
To paddle with even more efficiency and gain balance, you can shift your feet slightly. Slightly step your front foot* forward, this one points towards the front of your board, and also step back your rear foot very slightly, the latter open with a 45 ° angle. So that the heel of your front foot is at the same height as the toes of your back foot. This will give you more stability to handle the acceleration when you are pushed by the swell bump.
The position of your feet should not exceed the width of your shoulders, with a stance that’s too wide, you would have the impression of being precariously balanced on a wooden log. Above all, do not put yourself in the surf position (both feet on the axis of the board) before you are pushed by the wave, in this position you increase the row effect with an inefficient paddle, and you will lose the balance.
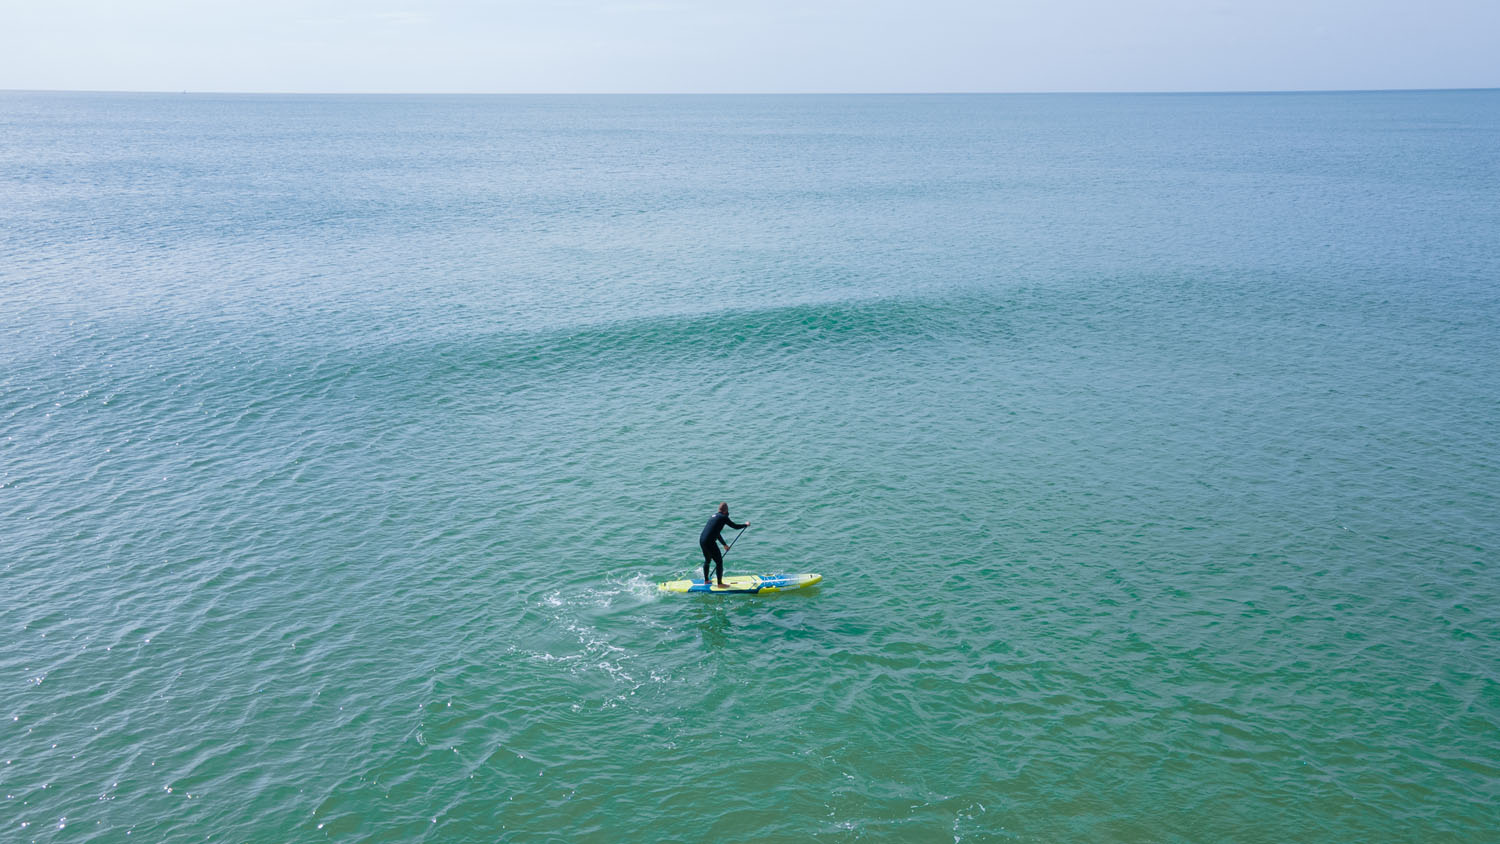
You are facing out to sea, and a few lines appear, the set is coming, do not make any noise so as not to frighten it 😉
The first phase will therefore consist of putting yourself parallel to the swell lines. To help you make that first turn, you can simply lean back slightly, putting more weight on your back leg. Note that during this phase you can also move your rear foot back, you will turn shorter and easier. During this phase, always paddle on the same side, and 3 strokes should be enough to go from having your back to the beach to the board being positioned parallel to the beach with already some speed so as not to start from zero in the next phase.
Now transfer your weight to the front leg by leaning forward and leaning on your toes, 80% of your body weight should be on your front leg. Accelerate your paddling strokes by keeping the shaft vertical so as not to turn too much, by performing short and rapid movements.
Reminder: your paddle is not a bow, so the goal is not to bend it in half but to give it frequency. Putting your weight forward will allow you to force the front of the board to engage well in the slope of the wave. If you are well positioned, 3 new paddle strokes should be enough to launch you down the slope.
Take the time to position yourself well, do not paddle too early or too late. Don’t just paddle facing the beach to catch a wave, it usually means you left too early. If, on the other hand, you start too late, you will notice it very quickly …
Opt for front side departures, which means surfing facing the wave. You will generally be more comfortable on this side, while having a more efficient paddle. So if you are more comfortable paddling on the left side, make your turn to the right. This means taking the waves rolling in your direction, but not taking them upside down 😉
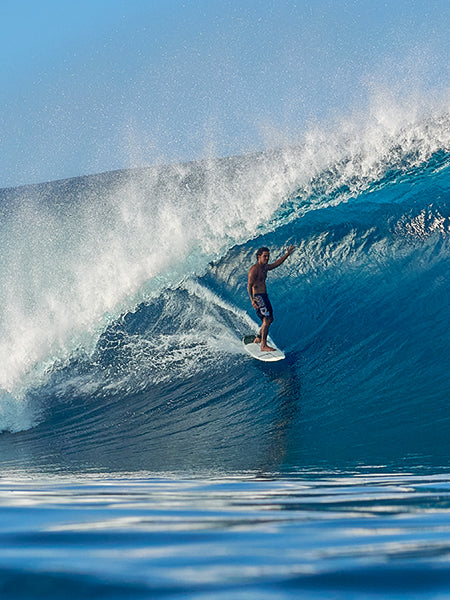
As soon as you feel your board go, stop paddling. Be careful, do not confuse the wave that lifts you up by passing under your board with the actual take off into the wave. Basically, the wave will pass you first and when your board is at the top of the slope, if you have paddled well, you will go down the wave. It is during this descent that you can stop paddling.
The first thing to do now is to step back well, your back foot should come to position not far from the tail pad of your board, so just above the fin. This will prevent you from digging the entire length of your board rail or from sticking the nose of your board to the water. Put a good gap between your two feet by stepping back sharply with the back foot. At the same time, rotate to a surfing position and gently place the blade on the water. This is the extrado that is placed on the water, the convex part of the teaspoon. And ideally we put the paddle at 90 ° to the axis of the board, on the side of the wave.
Look up, don’t stare at the nose of your board, but take a good look at where you want to go, the direction of your look is enough to determine your trajectory. Well, if the legs follow, it’s even better.
* If you’ve never skated, surfed or snowboarded, and you don’t know which foot is your front foot, take a very simple test. Stand up straight, feet together, and ask a friend (whom you trust) to push you (gently) on the back by surprise to throw you off balance. One of your feet will naturally move forward to rebalance you. This is the foot that should be placed in front in the surfing position. If it’s your left foot, you are part of the “regulars” tribe, in which case you will be more comfortable riding straight lines. If instead it’s your right foot, you are what we call “goofy”, it’s like “regular”, but prettier 😉


2 comments
Replying to Oliver….shaft is the longest part of the paddle, not the grip where you put your upper hand. The shaft gets clutched with the lower hand
Superbe explication pour les novices comme moi.
J’ai tout compris, sauf le terme Shaft, mais après 15 secondes de recherche, j’ai compris qu’il s’agit du manche.
Y a plus qu’a mettre en pratique