


Your cart is empty !
It's flat around here...
Kitesurfing is a sport that requires careful equipment preparation to ensure a safe session. In fact, most incidents observed on the beach can be traced back to a setup mistake: crossed lines, incorrect connections, unnoticed wear, or a poorly installed safety system.
Just a few minutes of checks before launch can prevent the vast majority of these issues.
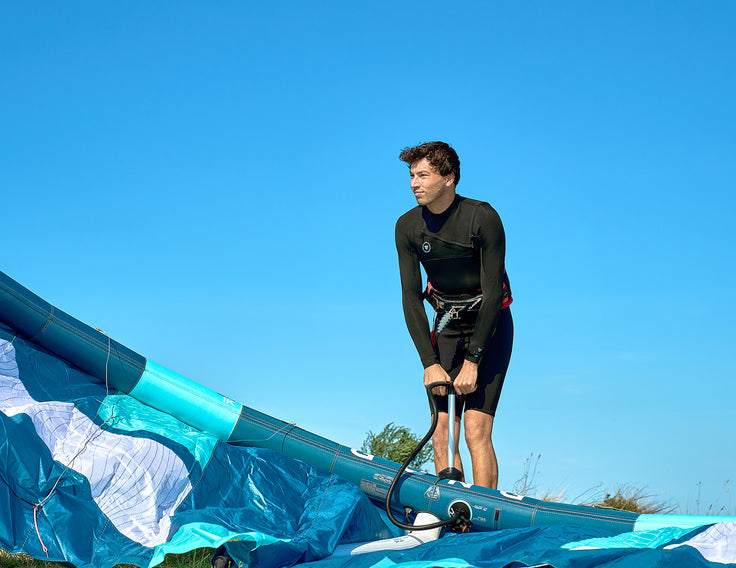
 Kitesurfer: Julie with her Display kite and FeelX bar.
Before using your kite for the first time, take the time to read the manual supplied with it.
You'll find model-specific information such as recommended inflation pressure, safety procedures, bridle configuration, maintenance guidelines, and usage recommendations.
While the basic setup principles are similar from one kite to another, every model has its own specific features. The manufacturer's manual should always be your primary reference.
Choose a clear, clean area away from obstacles.
Lay out your kite with the leading edge facing into the wind and visually check that the bridles are free from tangles or twists.
Then inflate the kite to the pressure recommended in the user manual.
A properly inflated kite maintains its shape better, relaunches more easily, and delivers more precise handling. Conversely, an underinflated kite loses performance and may be subjected to unnecessary stress.
Most kites feature a One-Pump system, allowing the leading edge and all struts to be inflated through a single valve. This saves time and ensures consistent pressure throughout the kite structure.
If you wish, you can also install the closing clamps supplied in your repair kit. These isolate the struts from the leading edge. In the event of a leak or puncture in a strut, the leading edge will retain its pressure and the kite will remain sufficiently controllable, helping you return safely to shore.
Take this opportunity to inspect the overall condition of the leading edge, struts, valves, and One-Pump hoses.
 Kitesurfer: Julie with her Ayto Aramid kite and FeelX bar.
Once inflated, the kite must remain perfectly secured throughout the setup process.
Position it correctly facing the wind and weigh down the leading edge with sand if necessary.
Make sure never to cover the bridles or pulleys so you can keep a clear view of the entire system.
The goal is simple: prevent any accidental launch while you're preparing your bar and lines.

We recommend unrolling your lines downwind of the kite, starting from the trailing edge.
This method offers several advantages:
All four lines and bridles remain clearly visible.
Visual inspections are easier and more reliable since no line passes underneath or alongside the kite.
As you walk upwind and back toward the kite, you naturally check your lines while approaching the connection points.
To prevent the line ends from blowing away while unrolling, first unroll two to three meters of line on the ground while keeping the ends under your foot. The weight of those first few meters is usually enough to hold them in place. They also benefit from the wind shadow created by the kite.
In stronger winds, simply place a little sand on the lines to keep them firmly on the ground.
Unroll your lines all the way to the bar, keeping them perfectly aligned with the wind. Then walk back toward the kite while holding the lines in one hand and separating them with the other.
A useful technique is to place the front lines between your legs and keep one steering line on each side. Hold all four lines in front of you with one hand while using the other to separate them as you walk.
Don't worry too much about twists in the front lines at this stage, as these can easily be removed later using the swivel above the chicken loop once all four lines are connected.
The important thing is to keep the center lines in the middle and one steering line on each side.
Make sure all four lines are completely separated, with no knots or crossings.

Before making any connections, clearly identify the front and rear lines as well as the kite's left and right lines.
Always follow the color coding provided by the manufacturer. While colors may vary between brands and models, red is generally used to identify the left side.
Be careful: when the kite is lying on the beach, it is easy to confuse left and right.
To orient yourself correctly, always imagine the kite flying in front of you. The kite's left side corresponds to your left when flying the kite.
Connect each line to its corresponding attachment point and ensure that all lark's head knots are properly seated and tightened.
If you have any doubt regarding a connection or color code, do not launch. Start your inspection again from the beginning.

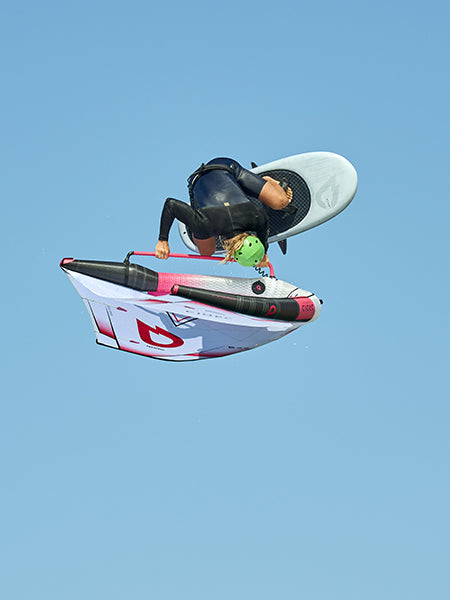
 Kitesurfer: Deury, GONG team rider, with his Vertigo Aramid kite and FeelX bar.
Once all four lines are connected, return to the bar.
Gradually apply light tension to the lines and visually inspect their path all the way to the kite.
Each line should naturally reach its attachment point without twists or crossings.
If necessary, use the front-line swivel above the chicken loop to remove any remaining twists.
Take this opportunity to perform one final check:
No lines are crossed.
No bridles are twisted.
No pulleys are blocked.
The safety leash is properly connected.
The quick-release system operates freely.
A complete inspection takes only a few seconds and eliminates most setup errors.

Before every session, carry out a quick inspection of your gear.
Pay attention to:
Lines
Bridles
Pulleys
Chicken loop
Safety leash
Seams
Reinforcements
Valves
One-Pump hoses
Inflation systems
Look for any signs of wear, cuts, deformation, or corrosion.
Any damaged component should be replaced before riding. Preventive maintenance always costs less than dealing with equipment failure on the water.
 Kitesurfers: Yucel and Deury, GONG team riders.
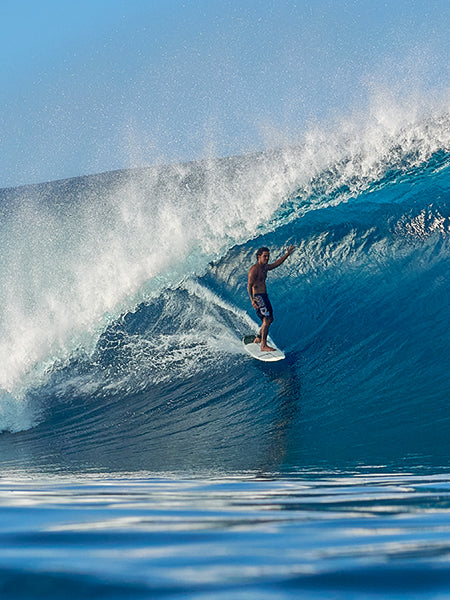
The best kitesurfers perform exactly the same checks before every session, whether they've been riding for ten days or ten years.
Taking a few minutes to properly prepare your kite, lines, and safety systems is the foundation of every successful session.
A great session always starts with great preparation on the beach.