Your cart is empty!
It's flat around here...


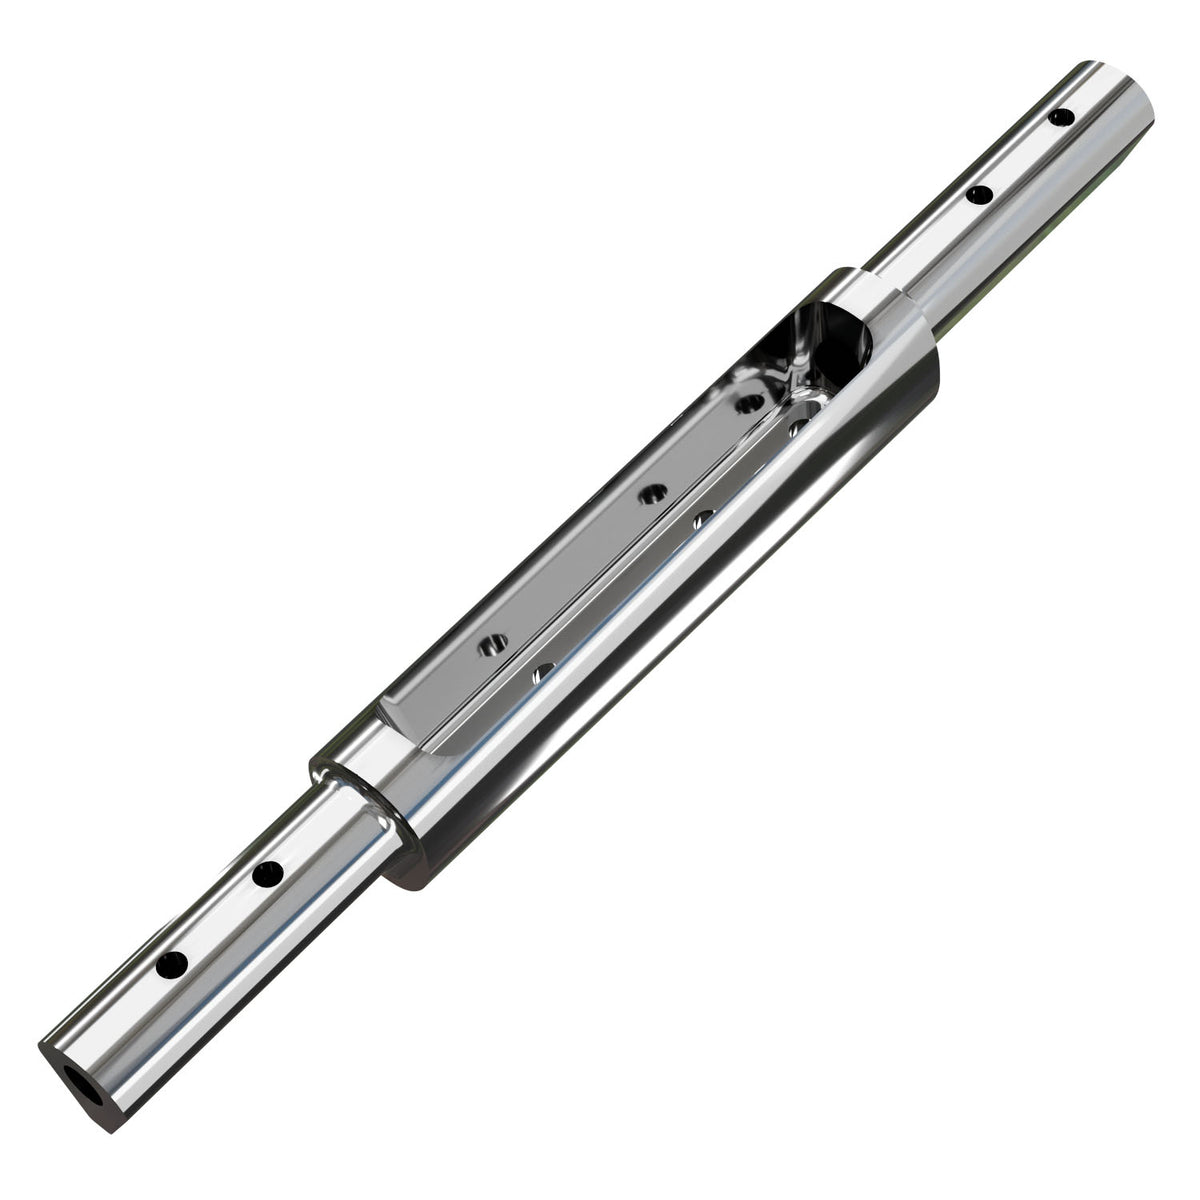
The metal rear fuselage part that precisely adjusts your Tail Wing angle of attack while delivering a perfect hydrodynamic line and flawless stiffness.
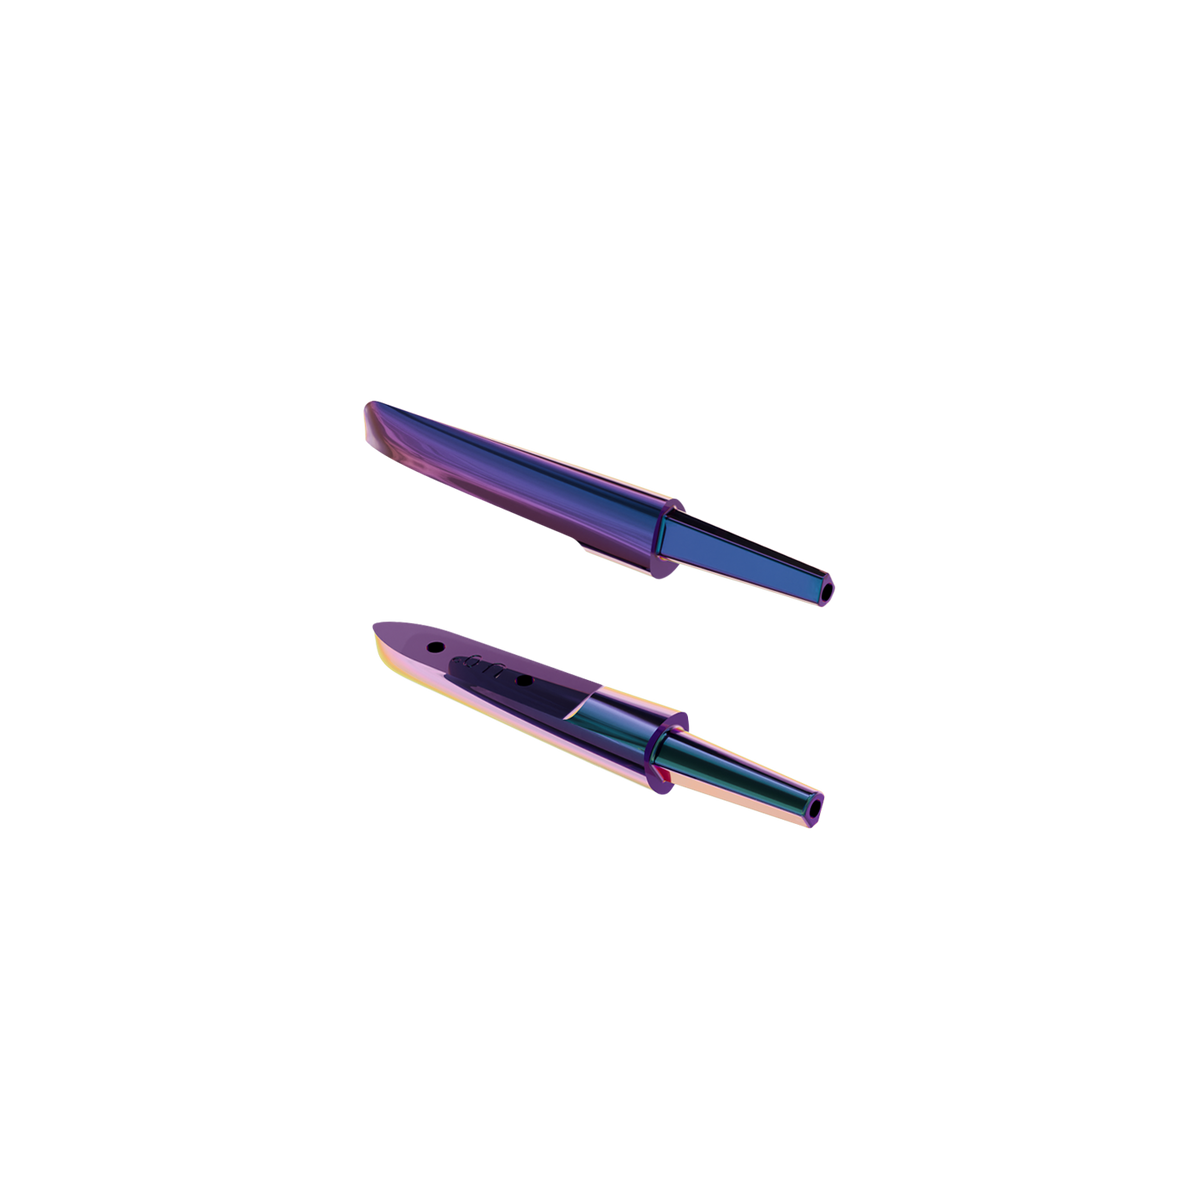
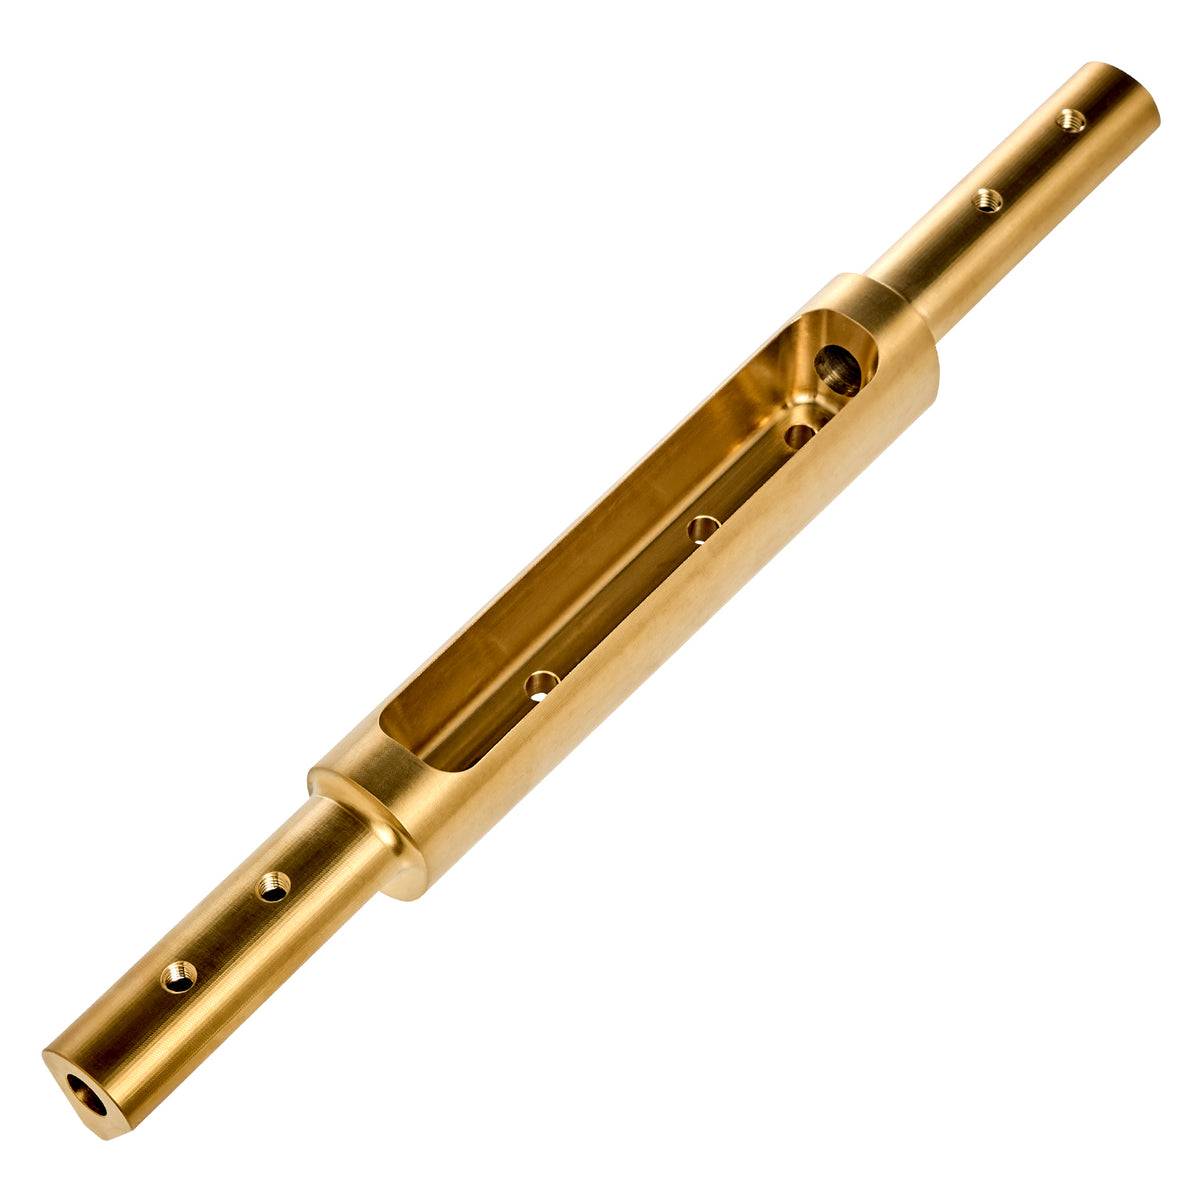
The Shim Tail V3 Atmo is the high-precision fuselage part that sets the angle of attack of your Tail Wing on the adjustable V3 Atmo rear system.
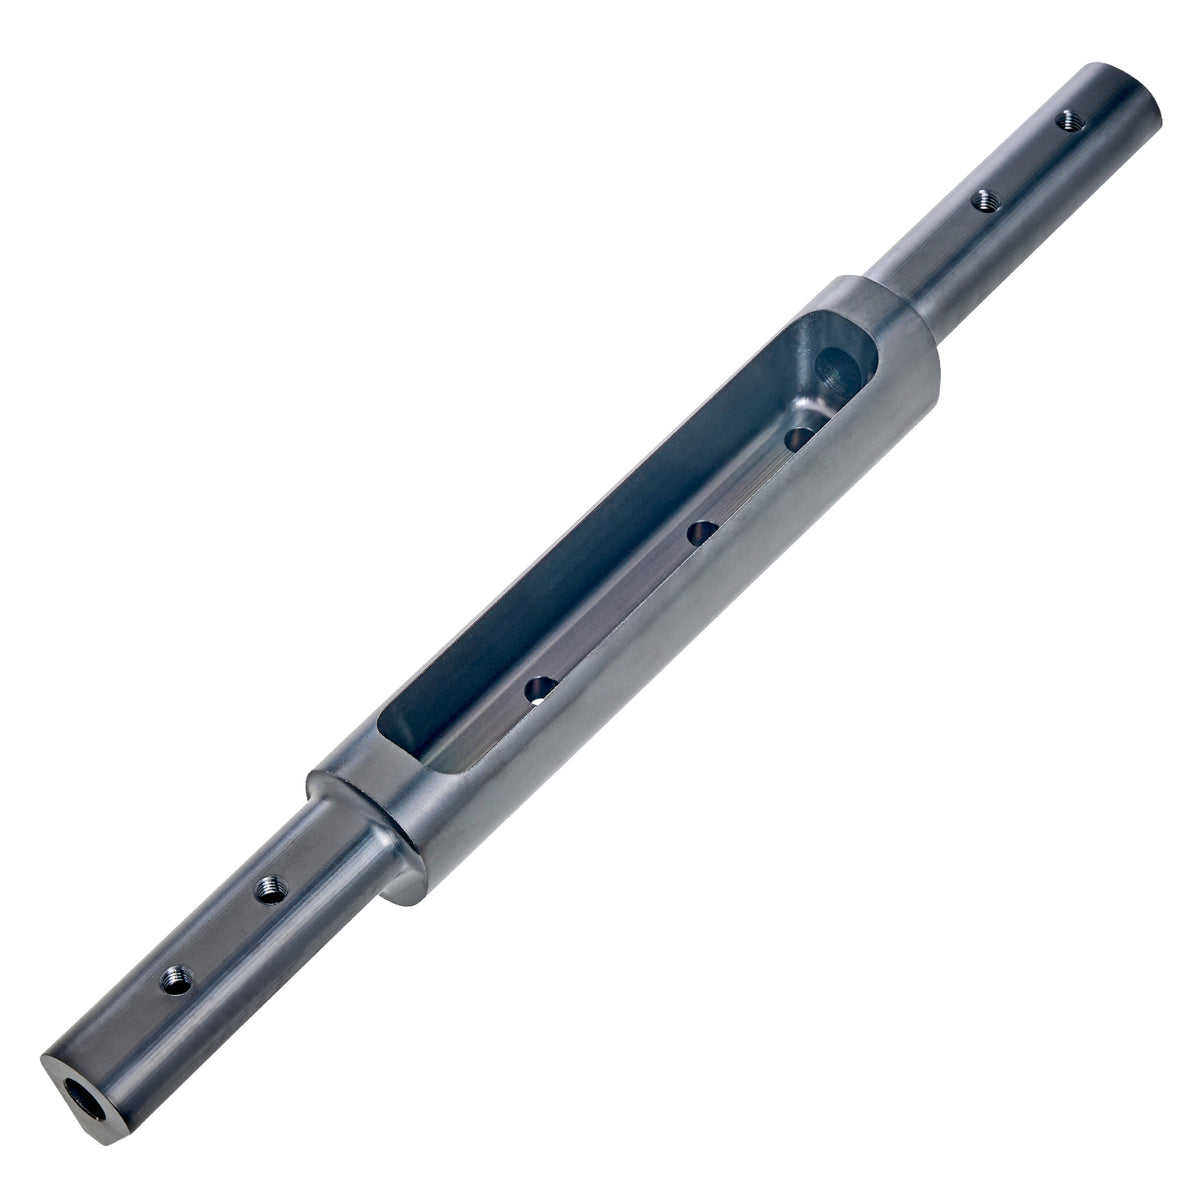
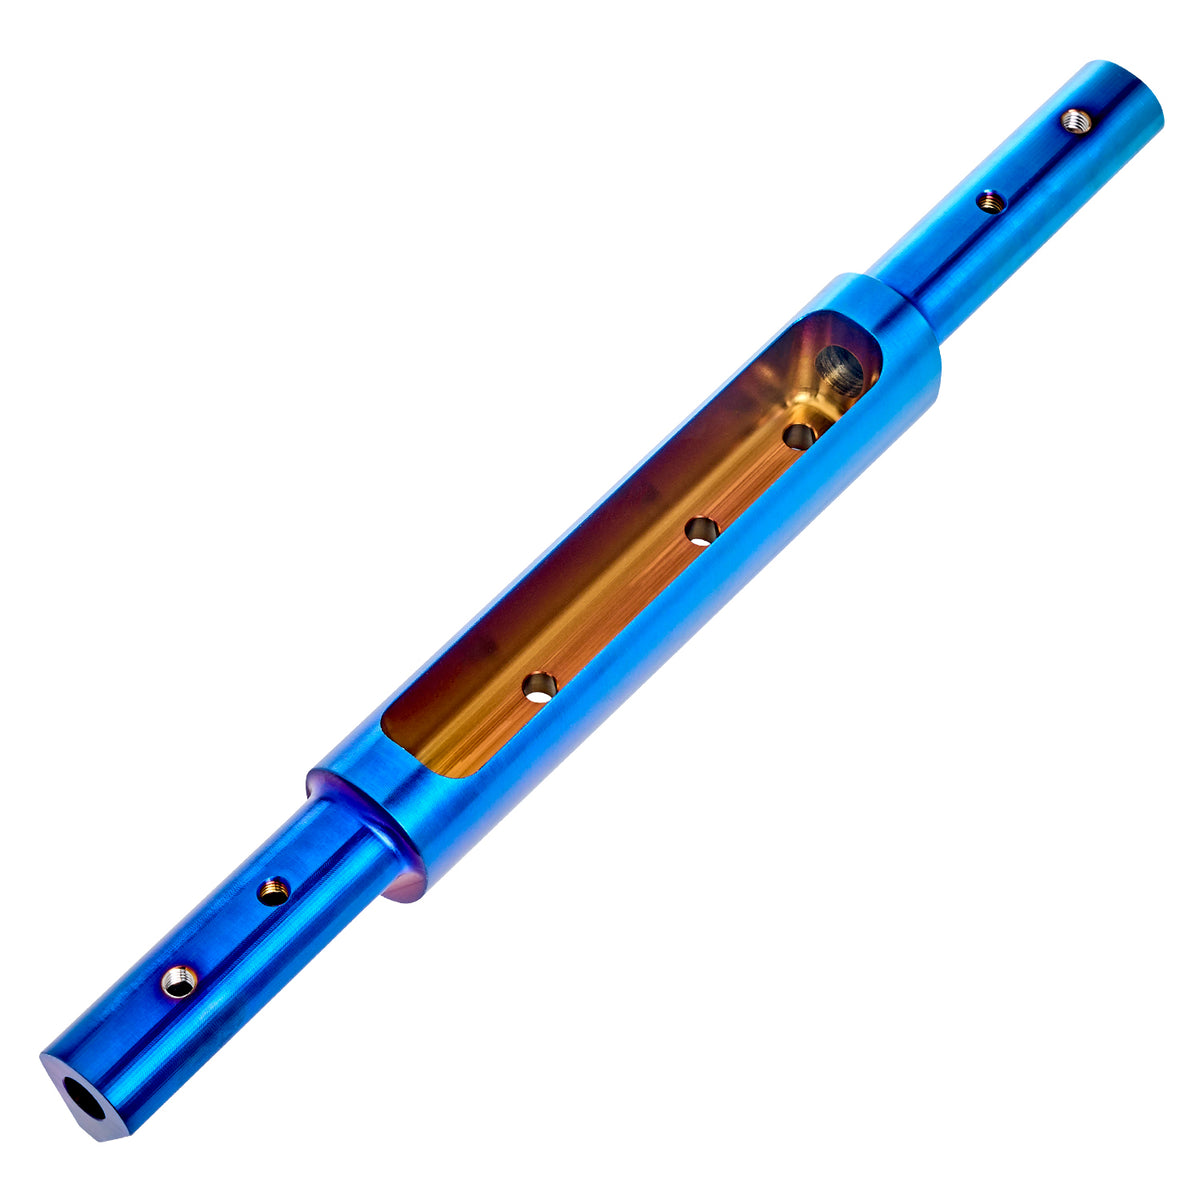
Far more than a simple shim, it is a true structural, profiled metal part. Its geometry precisely connects the Tail Shaft to the Tail Wing while integrating the adjustment directly into the foil’s hydrodynamic line.
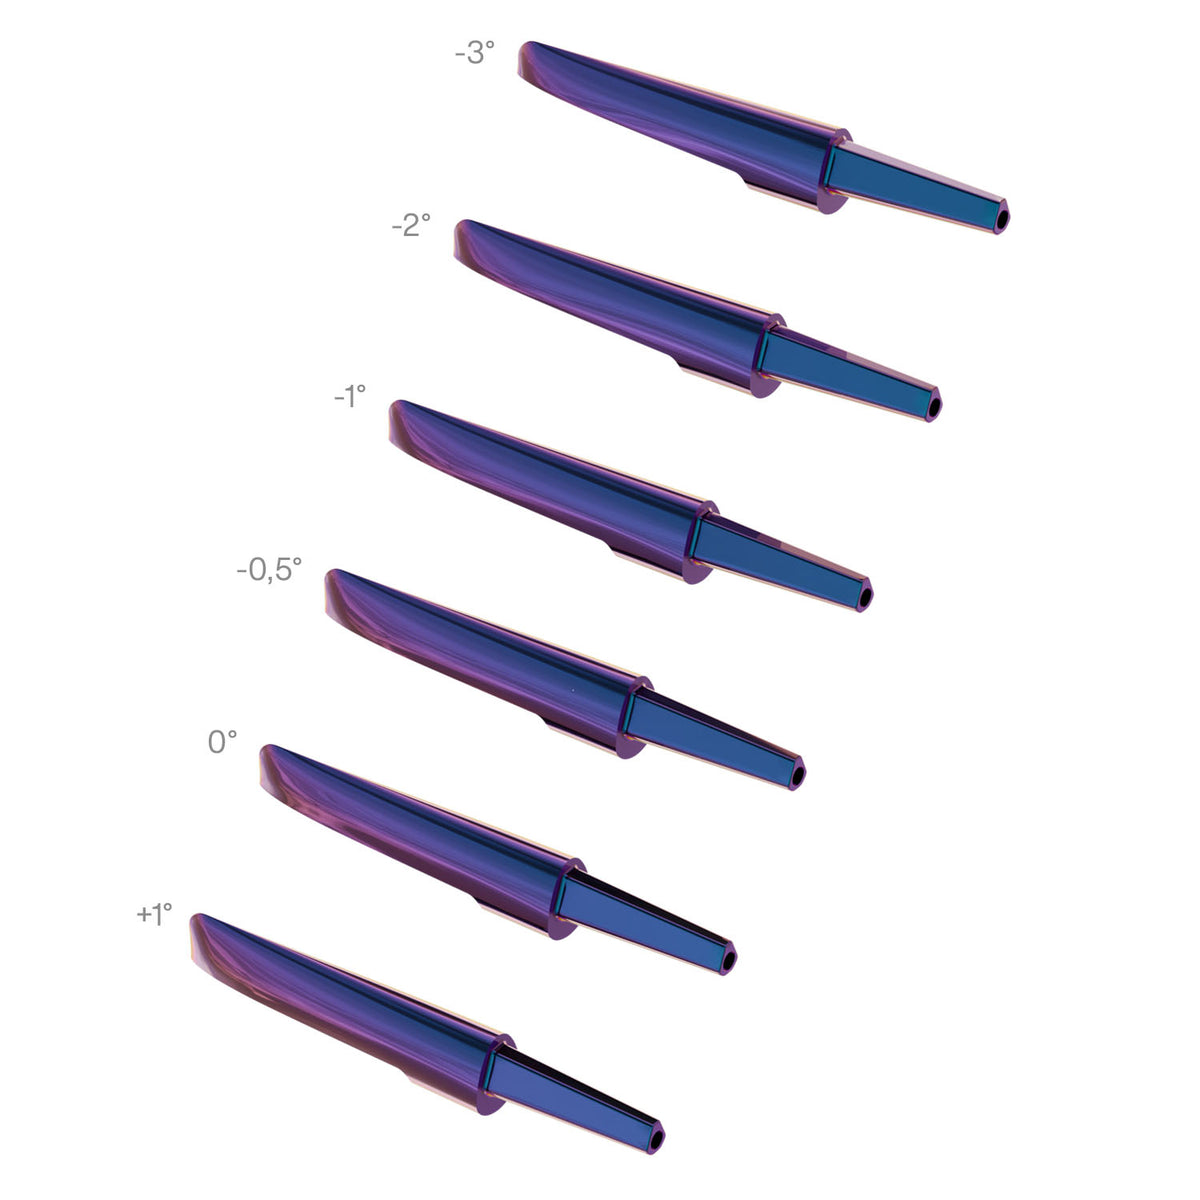
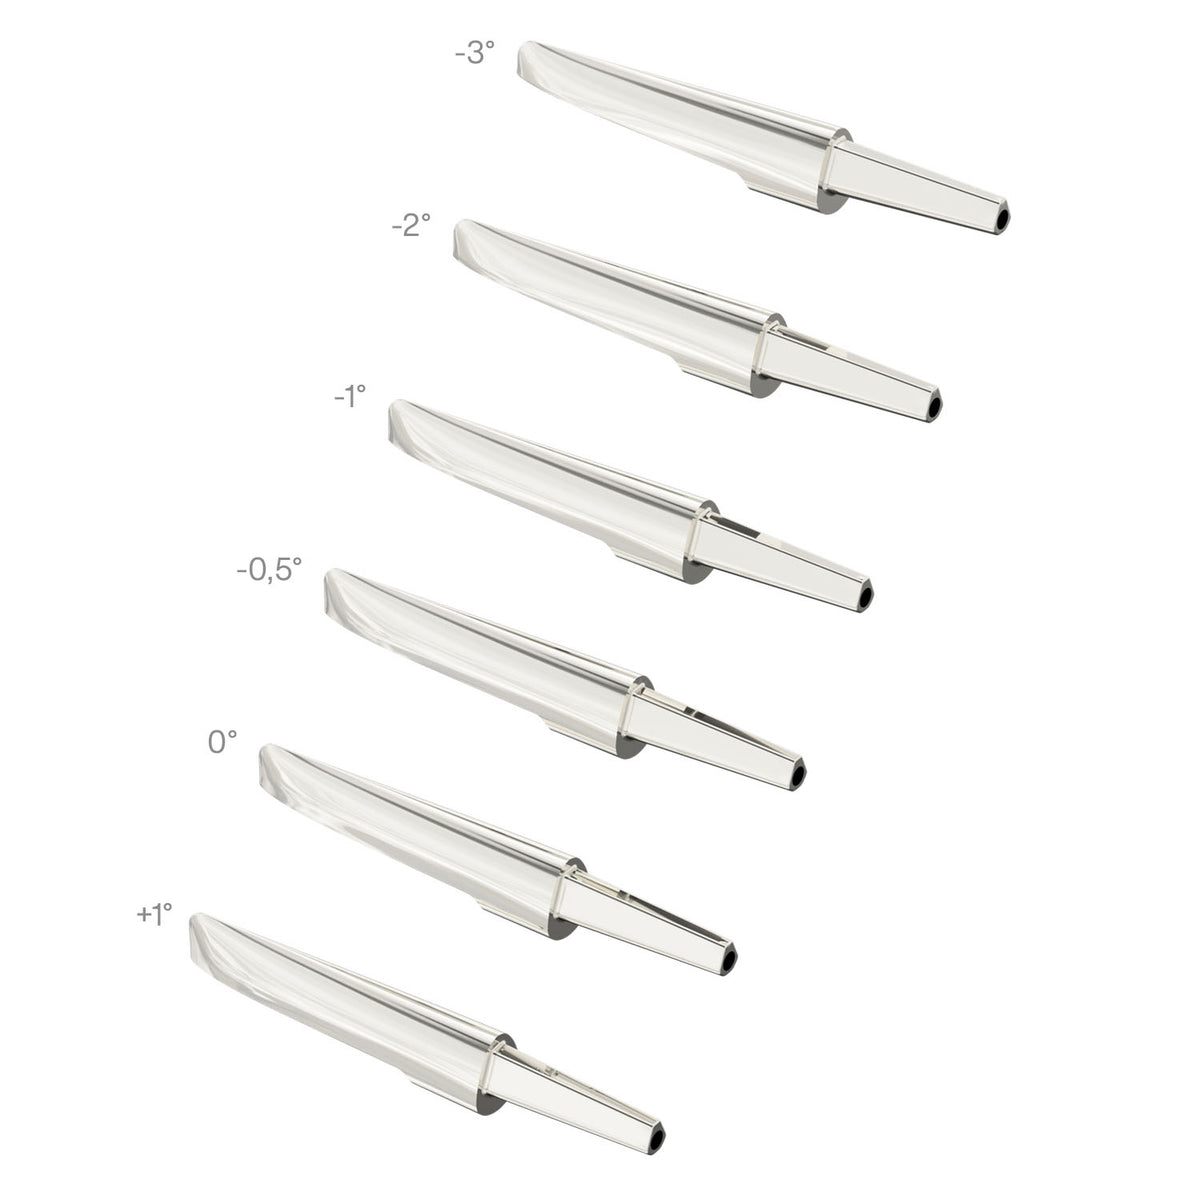
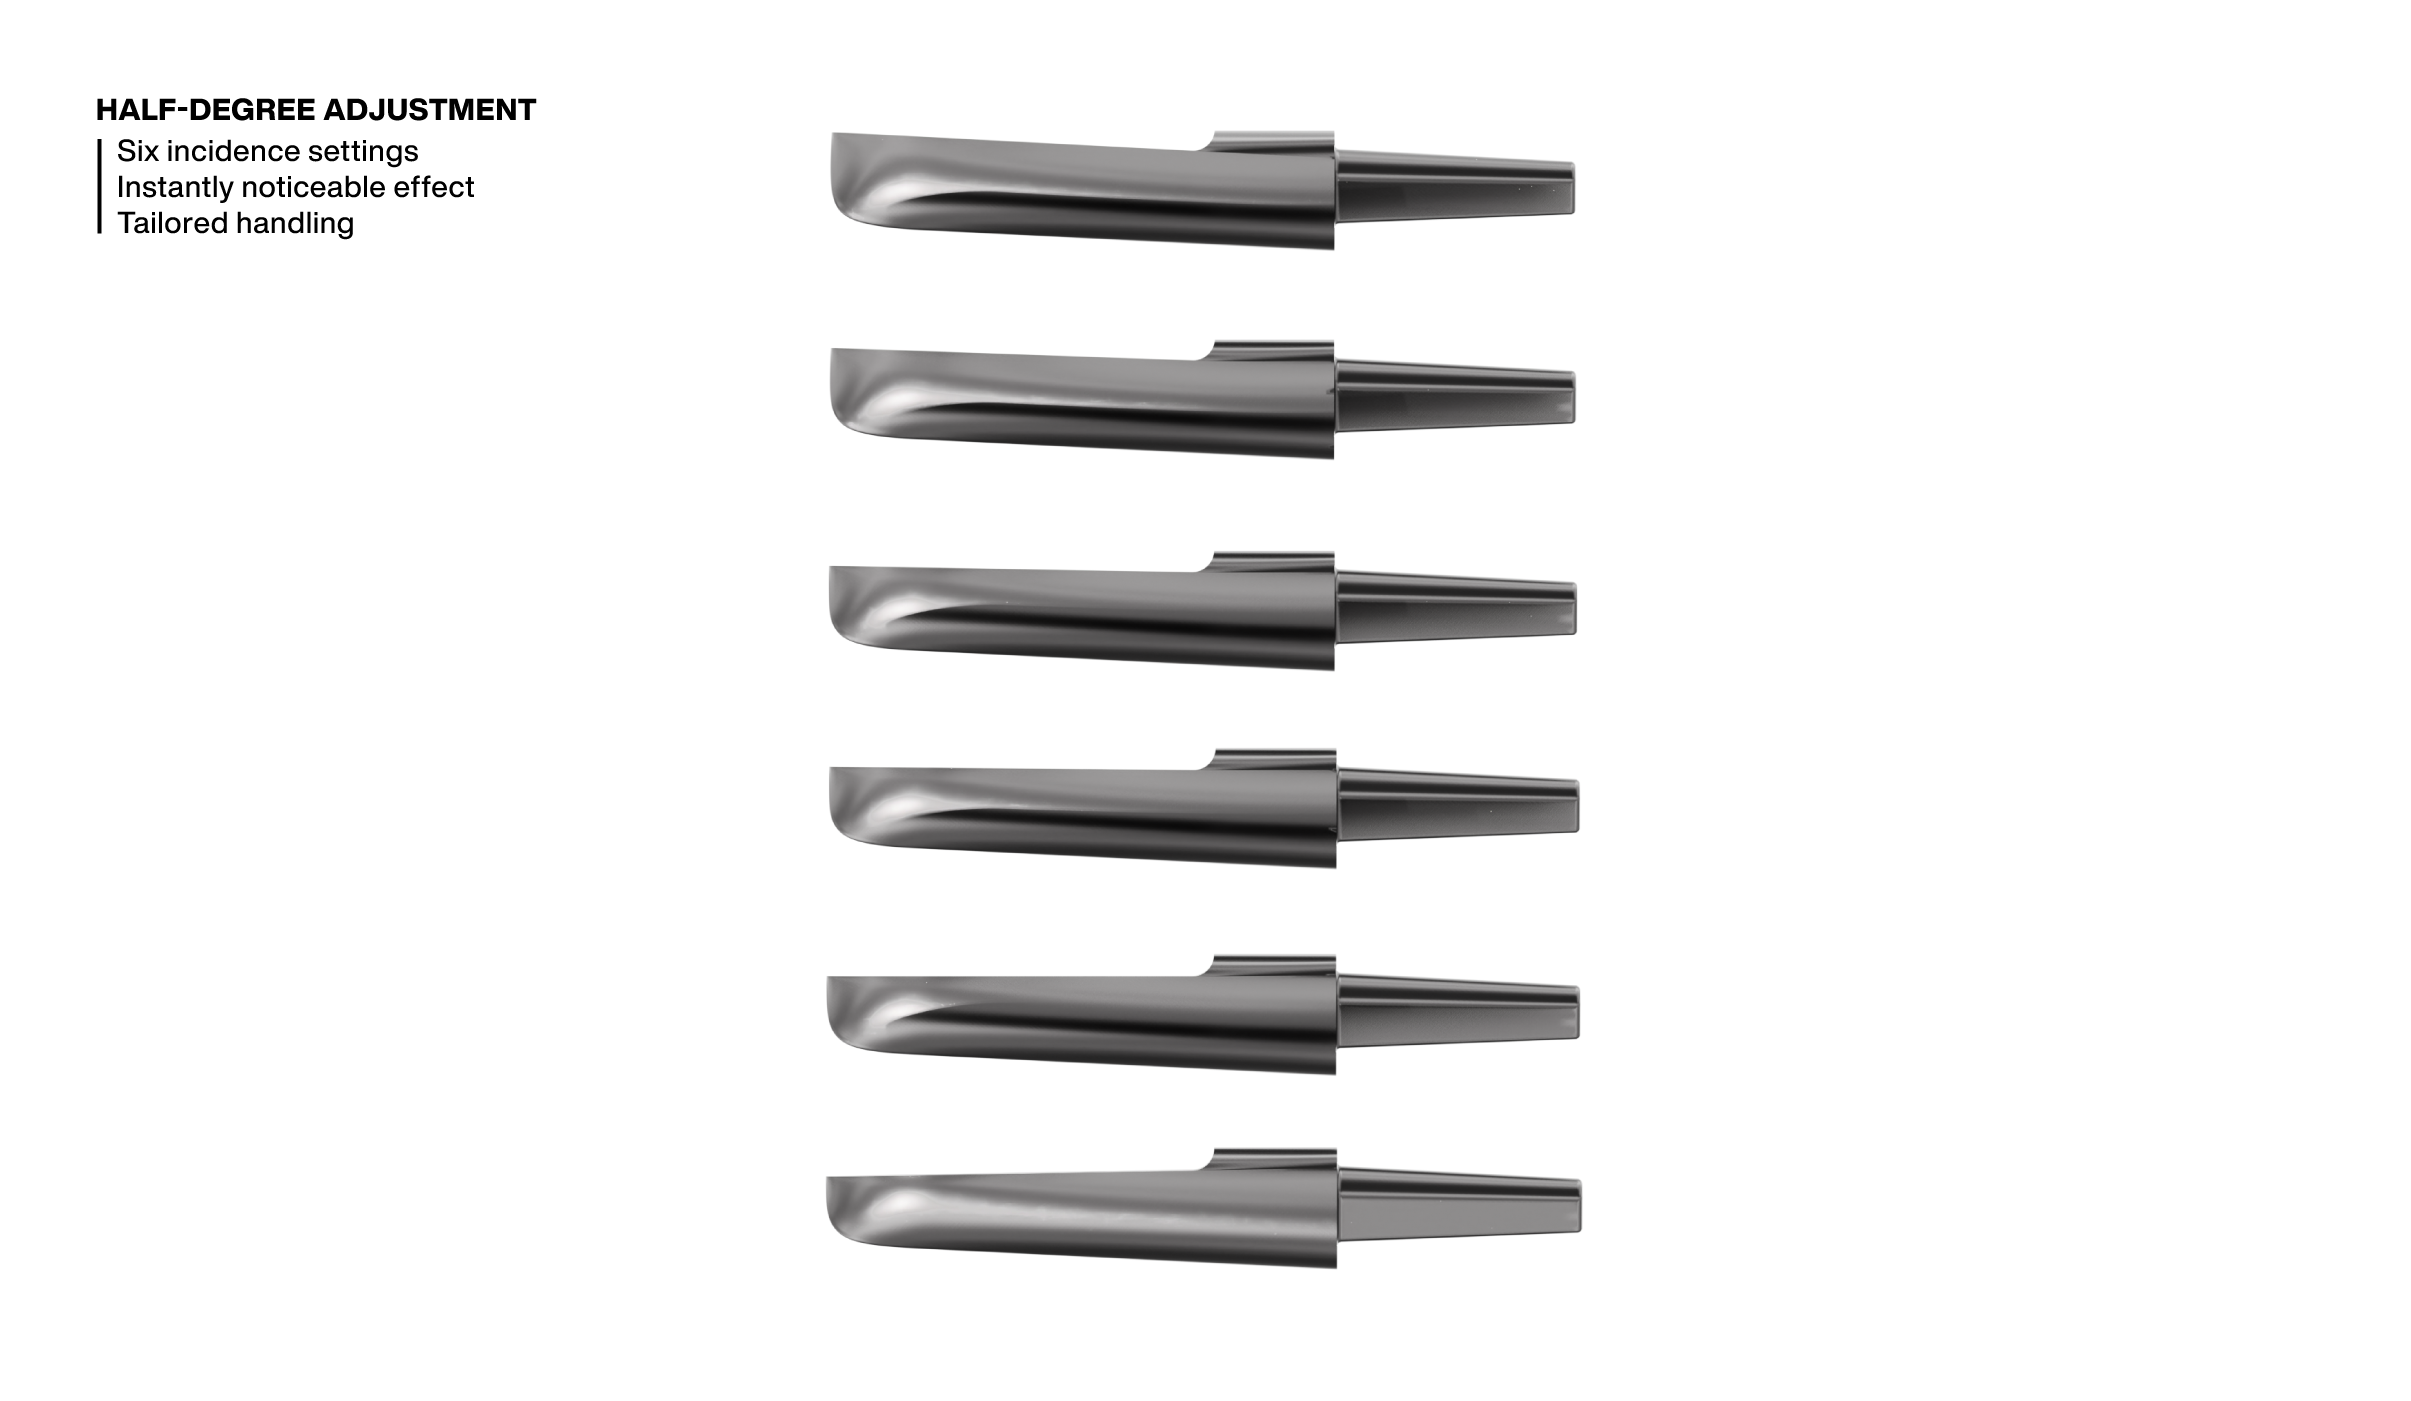
The range offers +1°, 0°, -0.5°, -1°, -2° and -3° angles of attack. Just a few tenths of a degree are enough to noticeably change front foot pressure, take-off, pop, repop, pumping, carve radius, stability and glide.
0° corresponds to the reference angle of attack calculated for the Tail Wing. A negative angle progressively increases its nose-up effect and adds more front foot pressure. +1° reduces this effect and lets the foil glide more freely without pull in your hands.
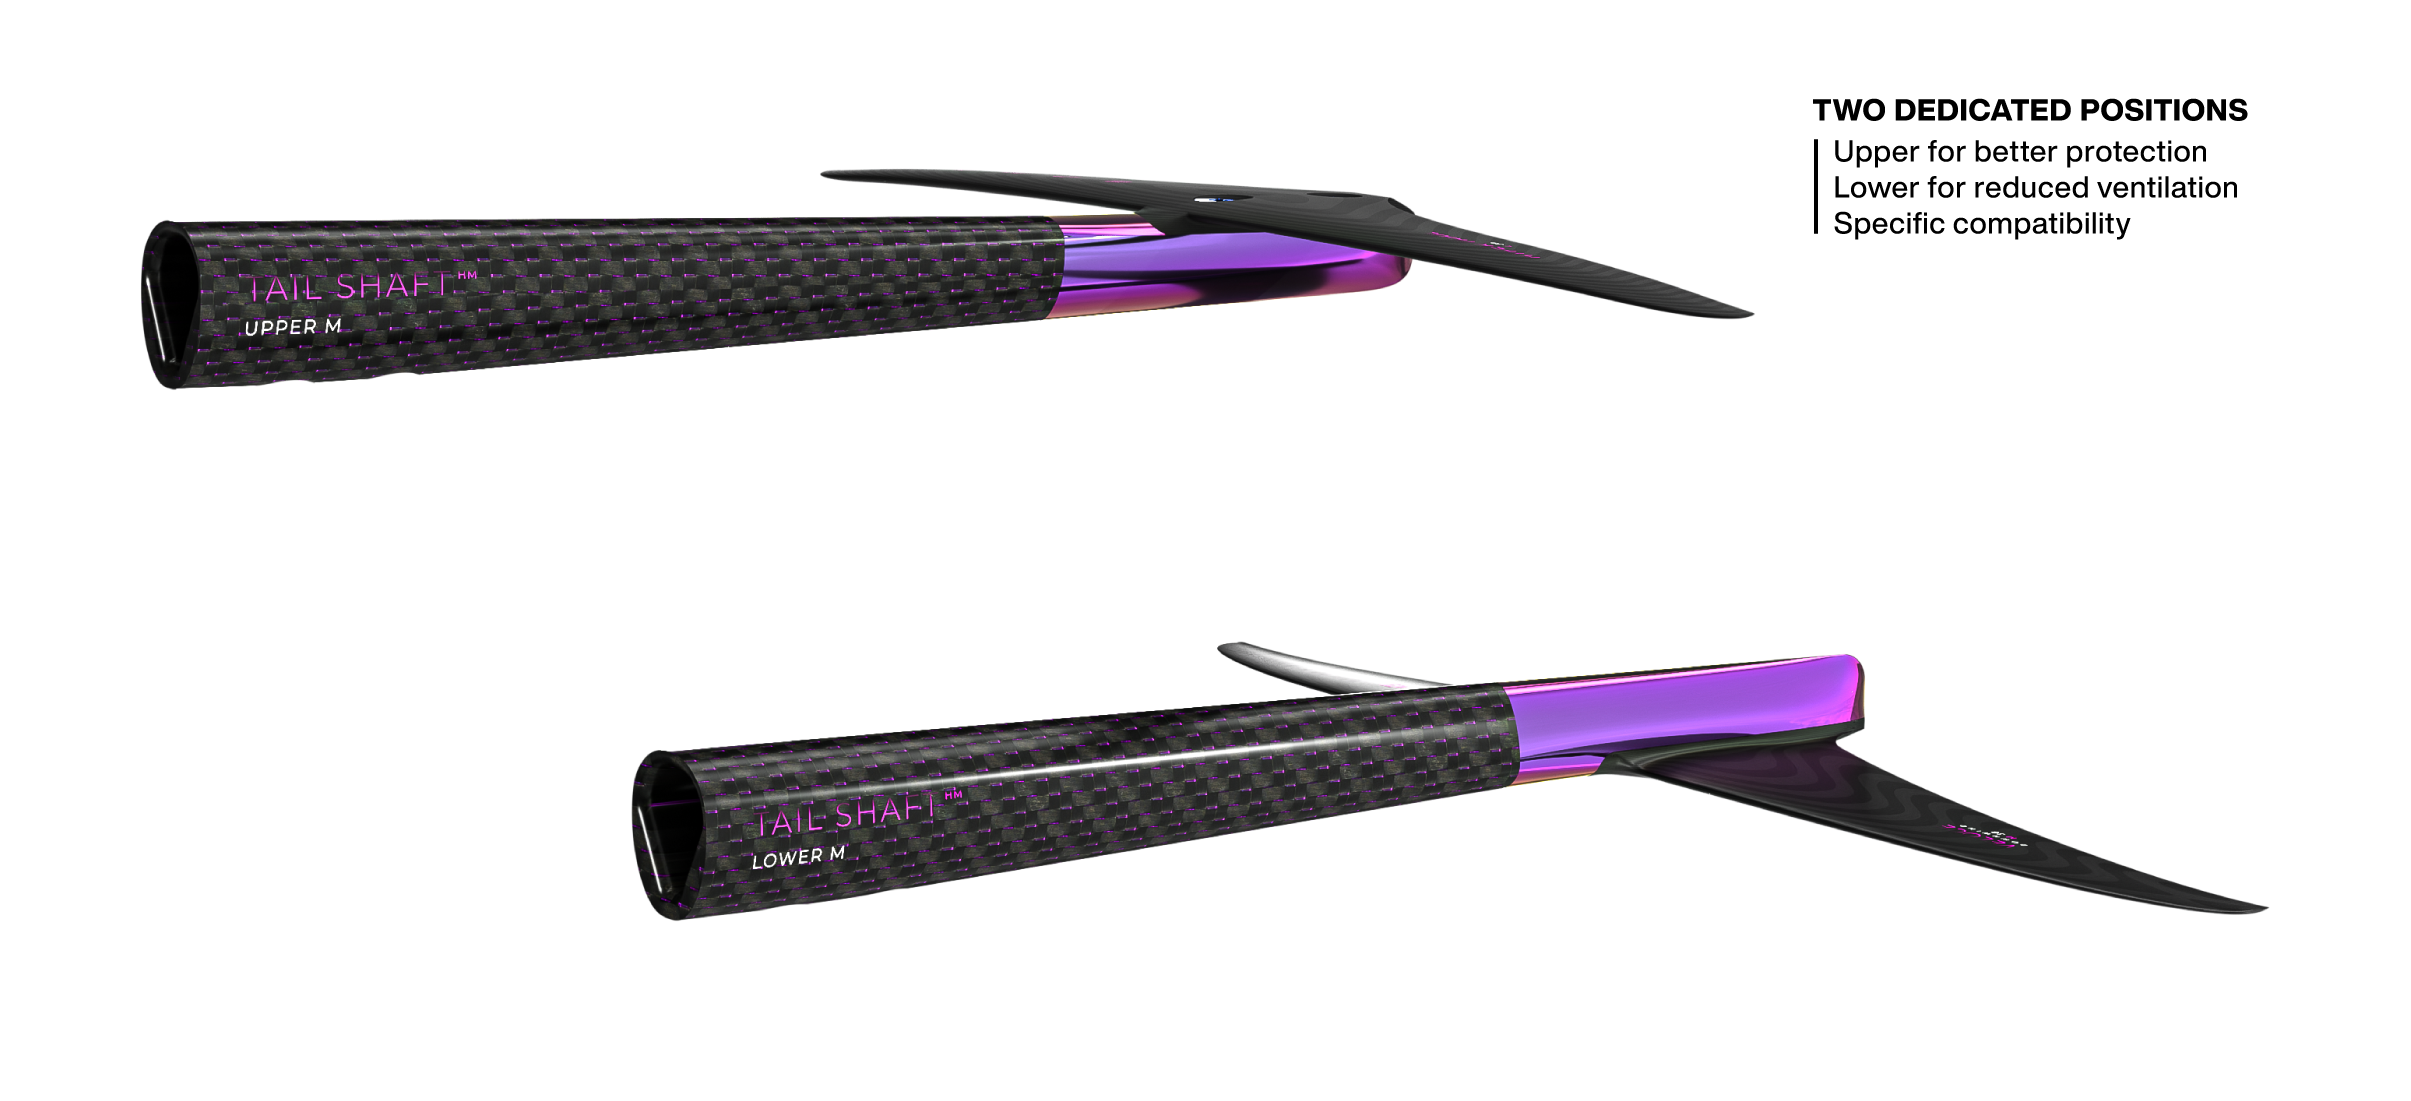
Each angle of attack is available in Upper and Lower architectures. The Upper offers more protection to the Tail Wing from contact with the bottom. The Lower moves it farther from the surface and from the Front Wing’s wake to limit ventilation and maximise efficiency.
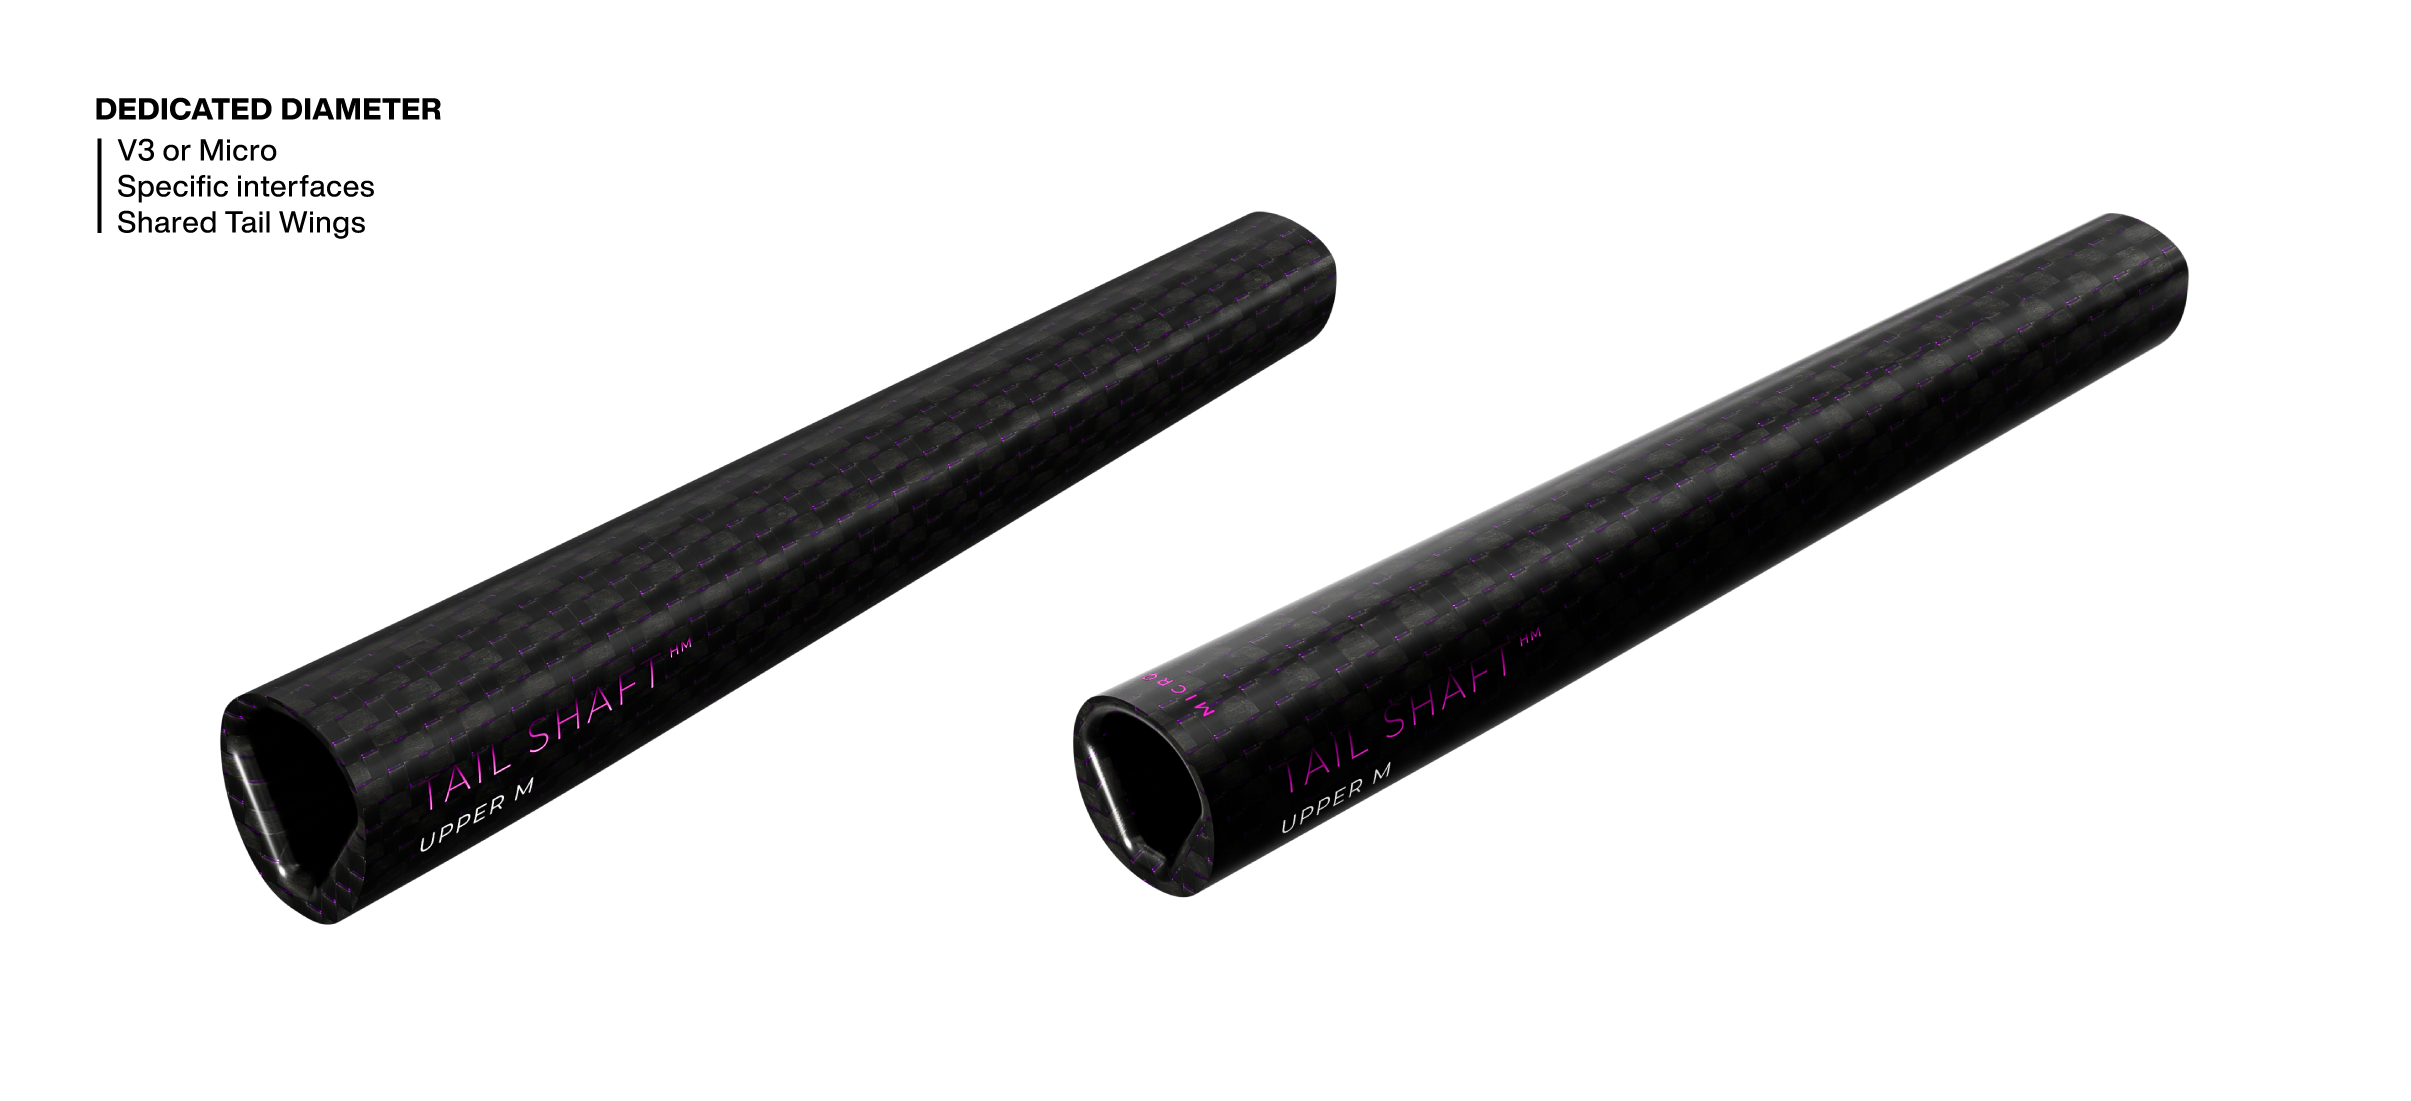
The fittings on the V3 and Micro V3 Atmo versions are matched to the diameter of their respective Tail Shaft and fuselages. However, the interface receiving the Tail Wing remains identical in order to preserve compatibility with all corresponding rear wings.
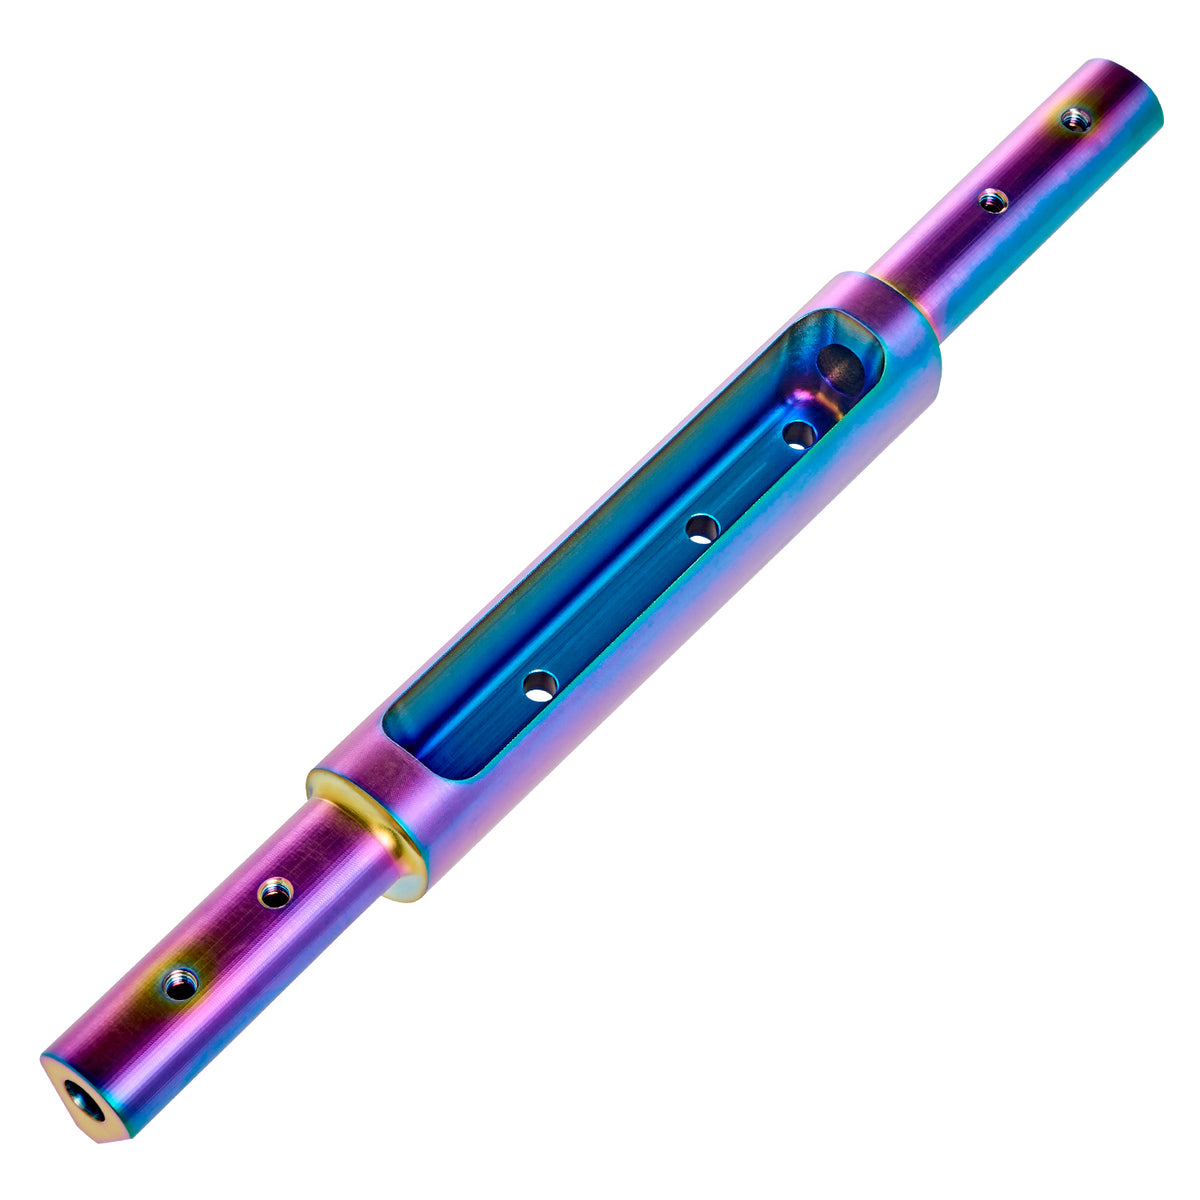
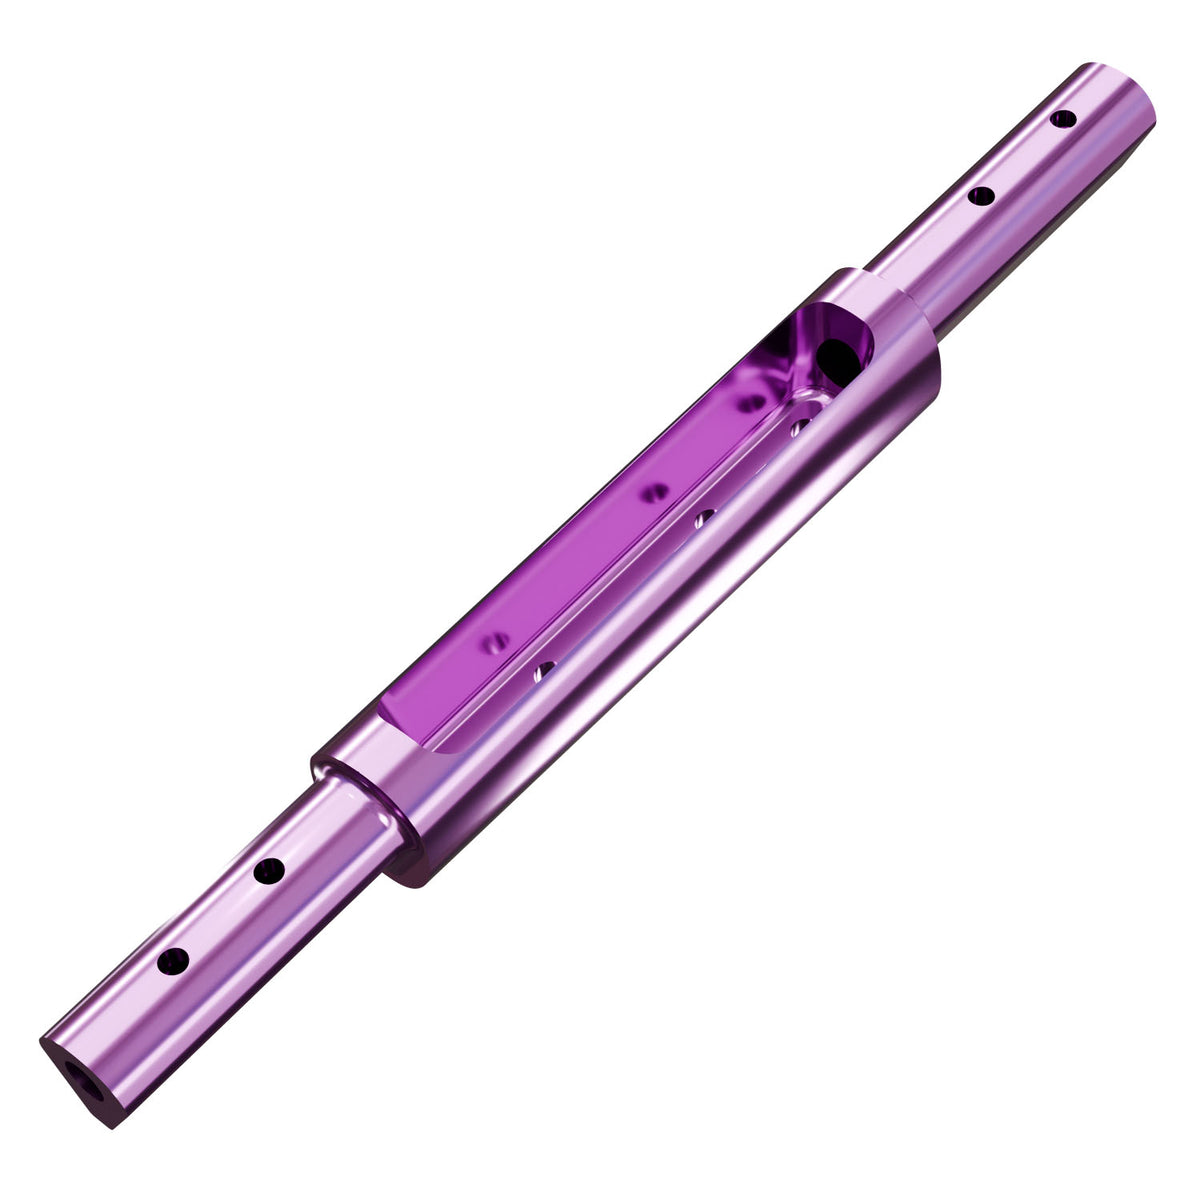
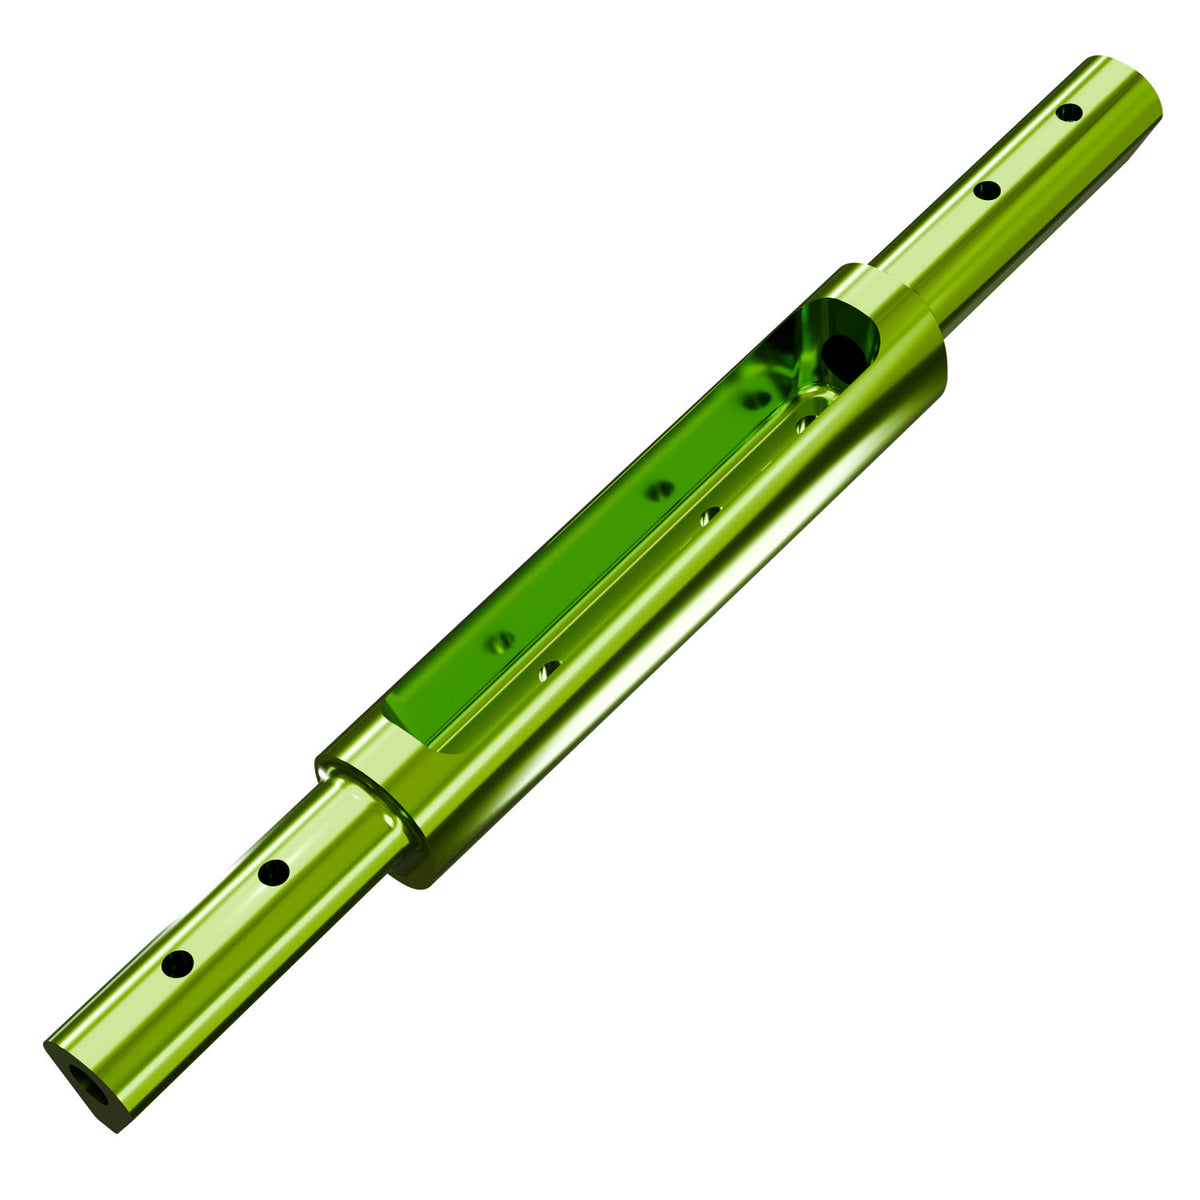
Available in aluminium or titanium, the Shim Tail lets you build the exact ride feel you are looking for, with a perfectly maintained angle of attack and flawless hydrodynamics.
The Shim Tail V3 Atmo gives you a few degrees of adjustment that can completely transform your foil, and with it your level and ease in flight.
The Shim Tail precisely defines the angle of incidence of the Tail Wing relative to the Tail Shaft.
The range offers +1°, 0°, -0.5°, -1°, -2° and -3° settings. Each part has its own geometry so that the chosen angle is built directly into the structural and hydrodynamic connection.
Just a few tenths of a degree already make a noticeable difference to front foot pressure, trim, take-off and the aircraft's overall behaviour.
The Shim Tail is a true profiled part, not a flat shim added between two surfaces.
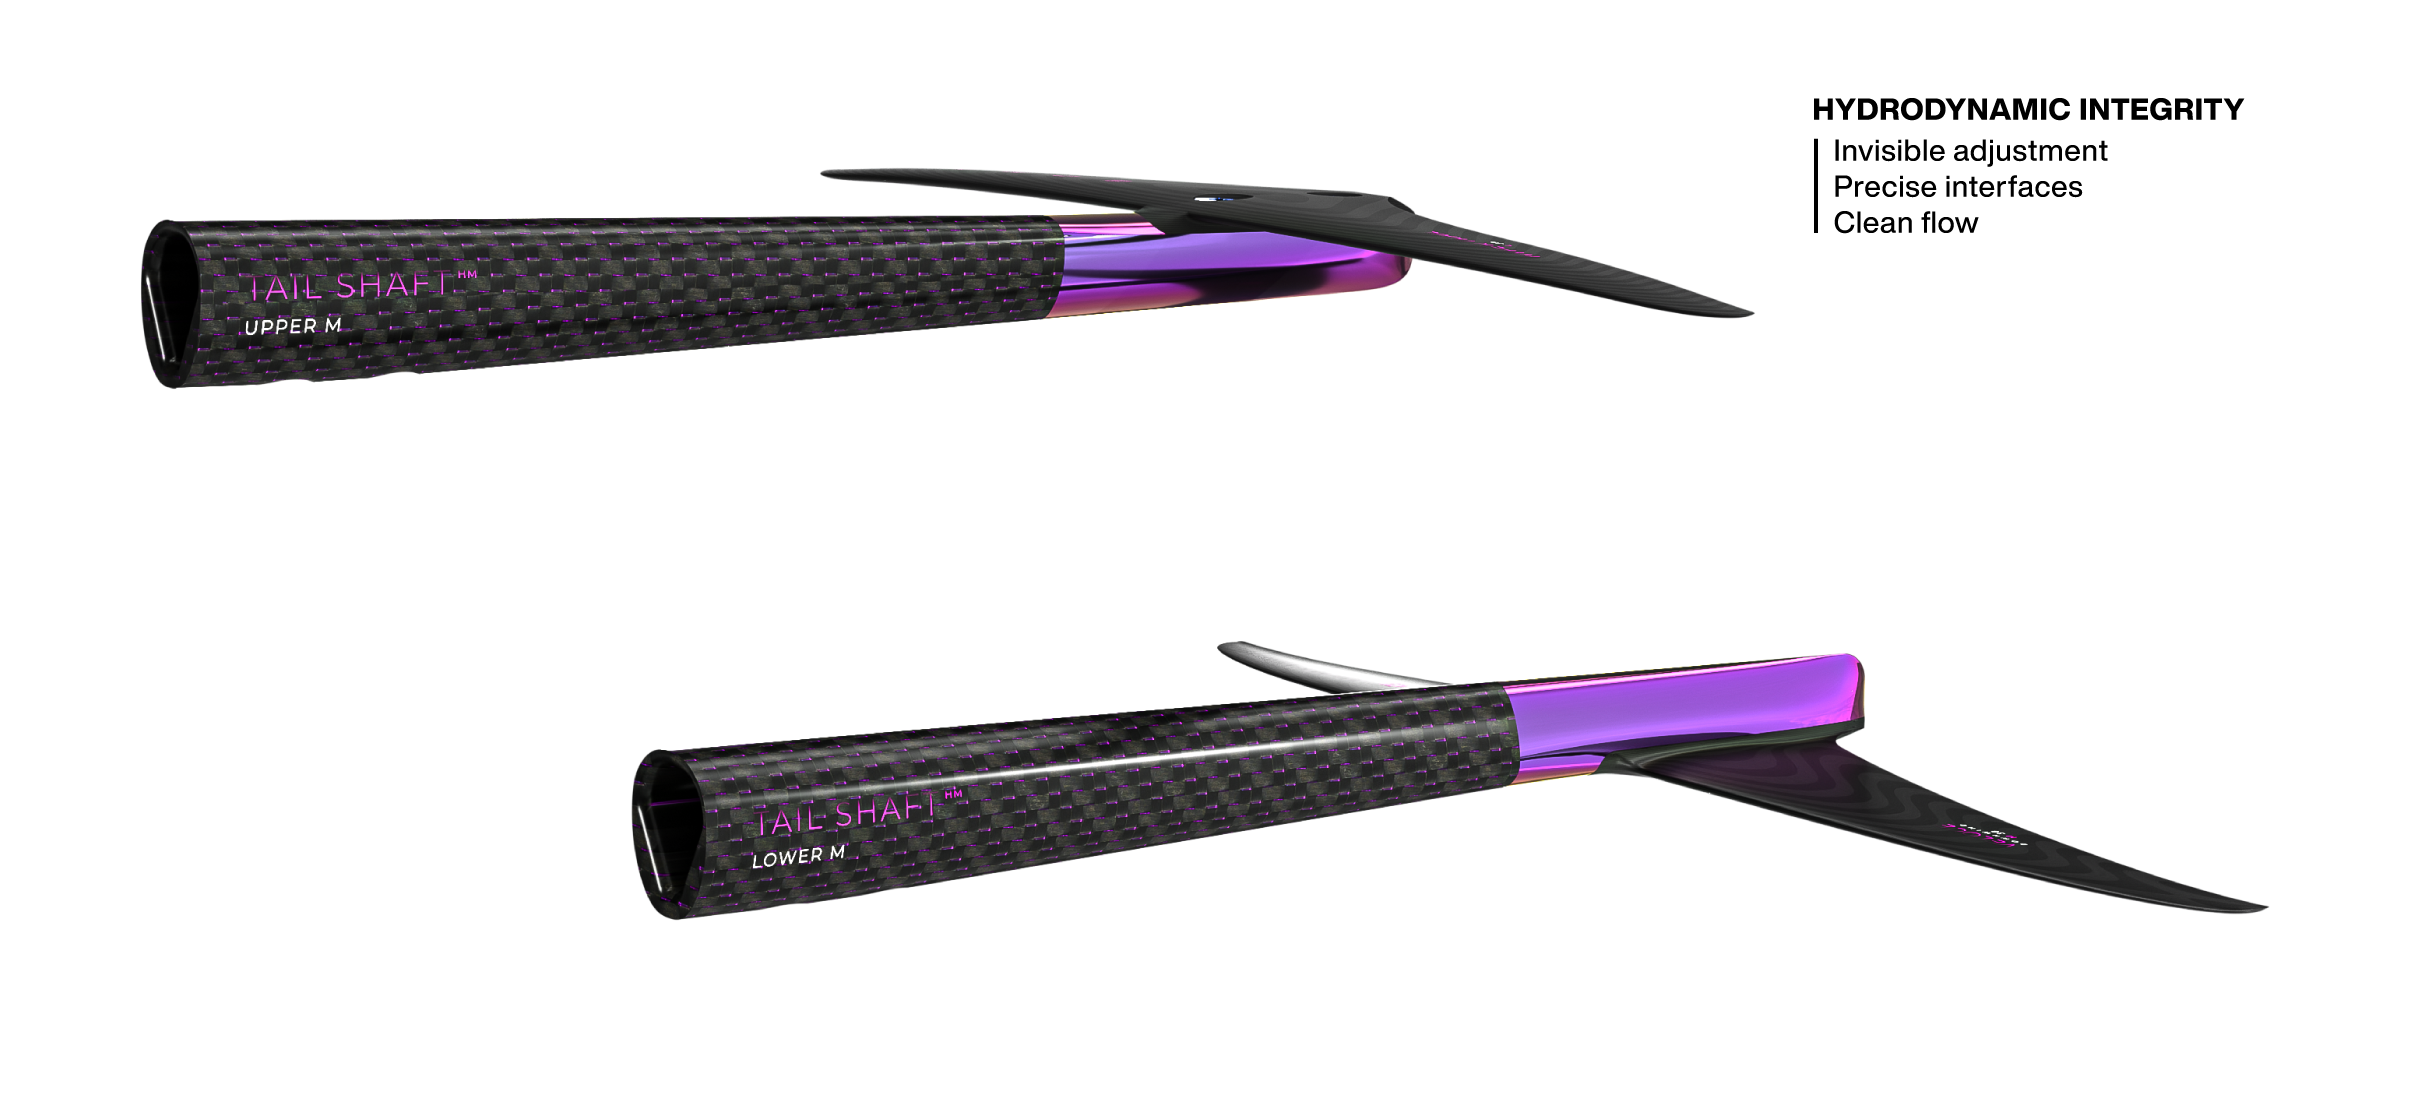
Its shape sets the angle of incidence while precisely blending the volumes of the Tail Shaft and Tail Wing. Every setting maintains a continuous line, with no step, cavity, overhang or excess thickness likely to disturb the flow.
So customisation never comes at the expense of glide or the aircraft's efficiency.
The 0° Shim Tail corresponds to the reference incidence calculated for each Tail Wing.
It does not mean that the rear wing is horizontal relative to the fuselage. The incidence required for the model to work is already built into the Tail Wing seat. It is the recess in the Shim Tail that is at 0°, so horizontal. This gives you a zero reference point if you use tail wings with different designs.
The number shown on the Shim Tail indicates only the angle of the recess relative to the fuselage axis, so the angle added to or removed from this reference.
The Shim Tail Upper can only be fitted with a Tail Shaft Upper and a Tail Wing Upper. It positions the rear wing above the part and gives it extra protection from contact with the bottom.
The Shim Tail Lower can only be fitted with a Tail Shaft Lower and a Tail Wing Lower. It positions the Tail Wing further from the surface and the Front Wing's wake to reduce the risk of ventilation and maximise efficiency.
The Upper and Lower architectures are not interchangeable.
The V3 Atmo and Micro V3 Atmo Shim Tails have interfaces sized to match their respective Tail Shaft diameters.
A V3 Atmo version cannot be fitted to a Micro Tail Shaft, and a Micro version cannot be fitted to a standard V3 Tail Shaft.
The footprint that receives the Tail Wing remains identical, however. The same Tail Wing can therefore be used on both diameters with the corresponding Shim Tail and Tail Shaft.
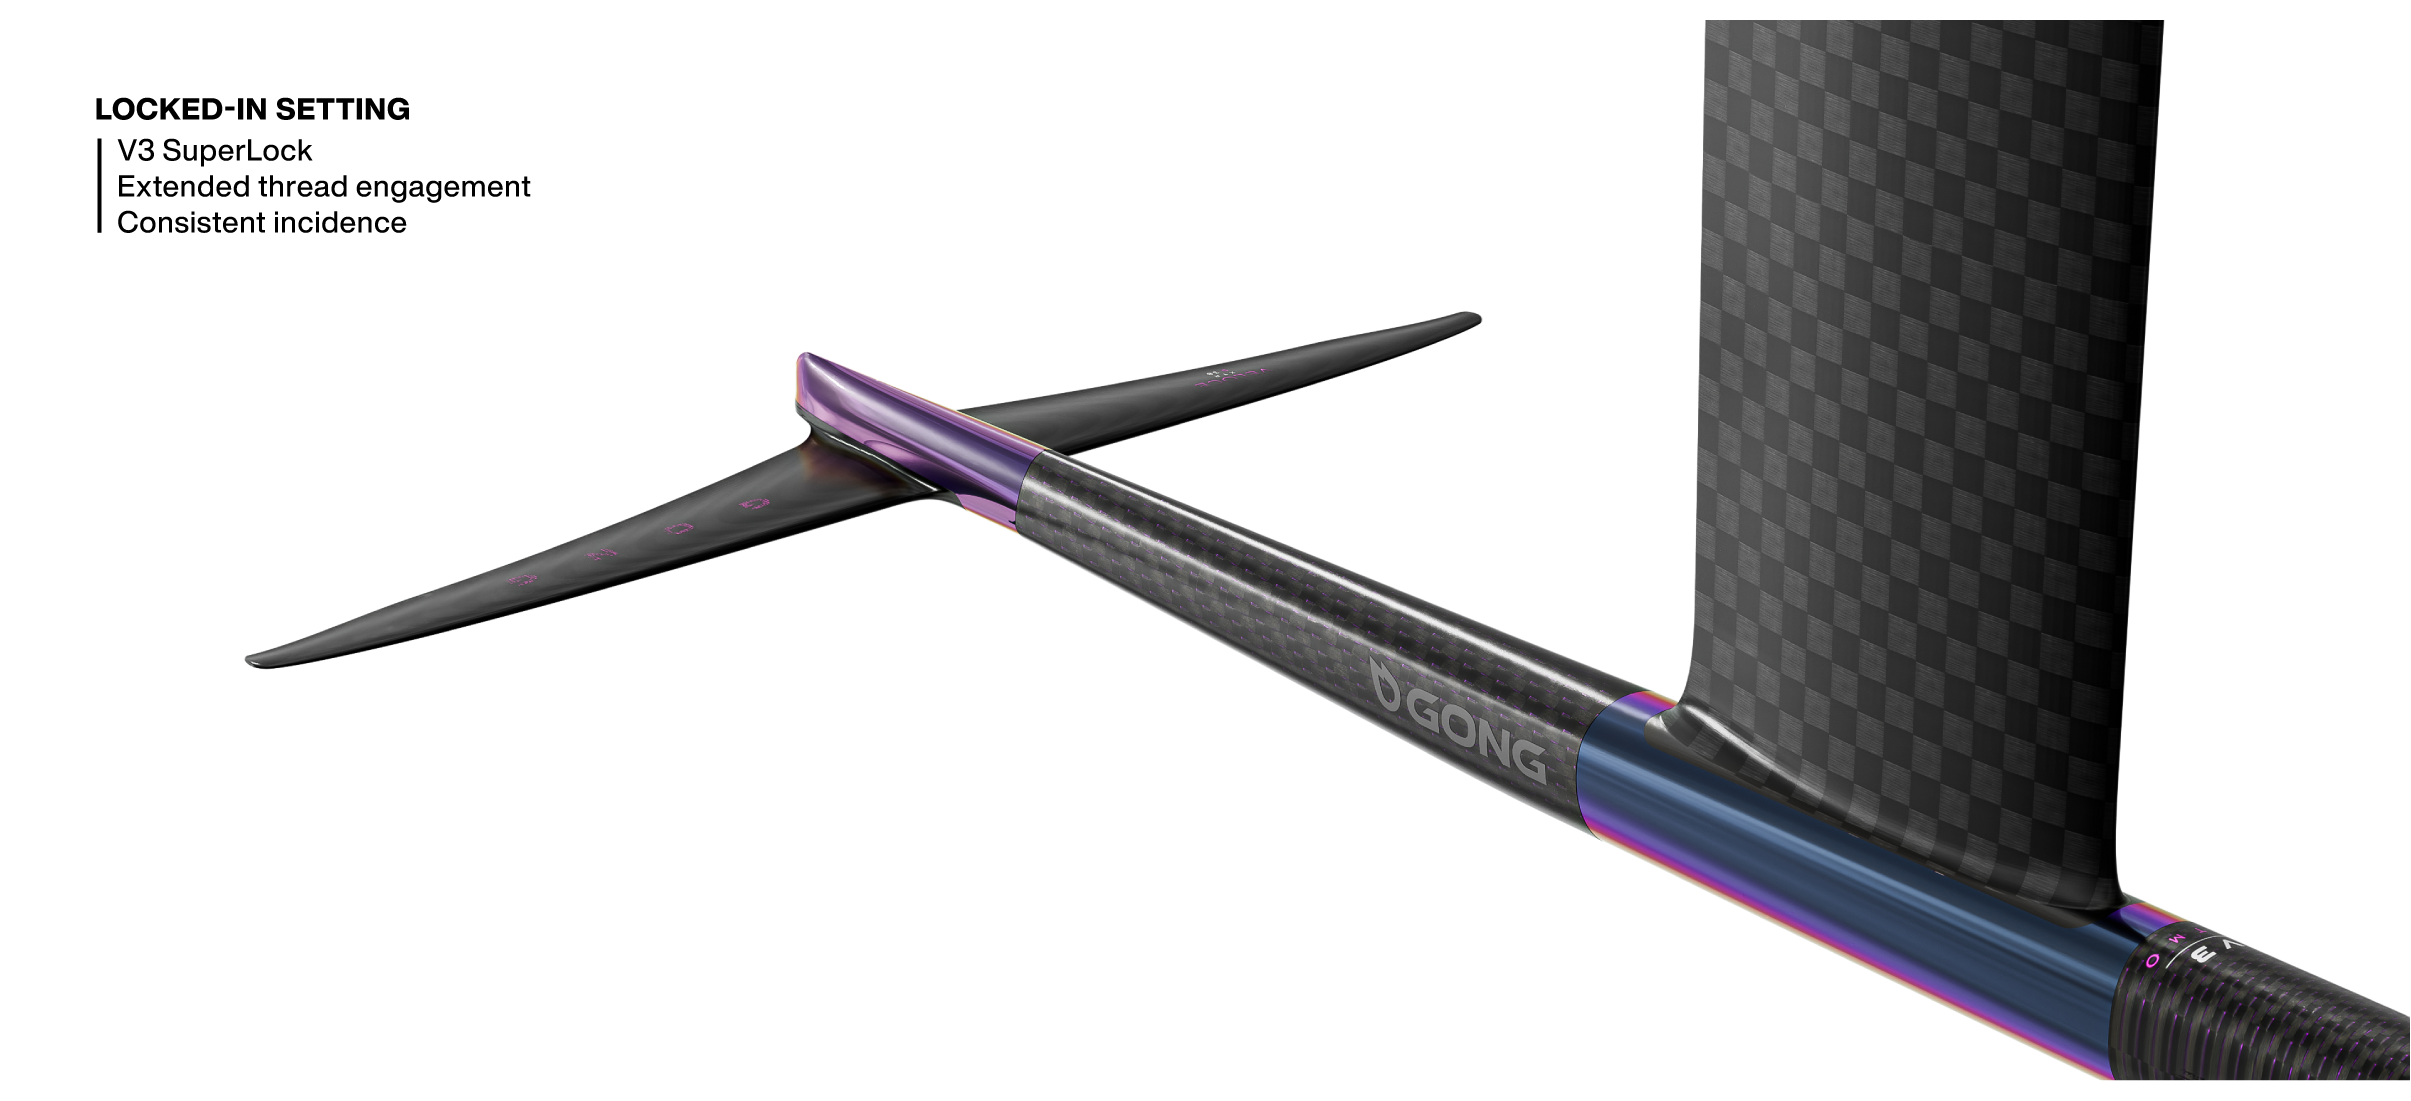
The Shim Tail uses a V3 SuperLock tapered connection with the Tail Shaft. The more load the assembly is put under, the more the fit mechanically locks in.
The Tail Wing sits directly in its reference seat and screws into the Shim Tail with a long thread engagement. The assembly stays solid, with no unwanted compression or change in angle of attack under load.
This architecture delivers precise, consistent feedback while remaining easy to take apart after the session.


Shim Tails V3 Atmo are for riders using a Tail Shaft who want to fine-tune the behaviour of their aircraft.
They suit both riders looking to adapt the foil to their stance and pressure distribution, and experts wanting to evolve their flying style or optimise a setup for a very specific programme.
The adjustment applies across all disciplines: pumping, downwind, surf foiling, SUP foiling, freefly, waveriding, wing foiling, lowkite, kite foiling, freestyle, high-performance freeride or race.
The Shim Tail is especially interesting for riders who like to understand, compare and refine their sensations. Just a few tenths of a degree can already make a clear difference under your feet.
The Shim Tail lets you precisely adjust the incidence of the Tail Wing without changing it.
This incidence acts directly on the torque generated by the rear wing and therefore transforms front foot pressure, trim, take-off, pumping, pop, repop, stability, carve radius and glide.
The Shim Tail is not just a simple shim. Its shape defines the angle while precisely fairing the Tail Shaft into the Tail Wing. The adjustment remains rigid, consistent and perfectly integrated into the foil's hydrodynamic line.
The range offers +1°, 0°, -0.5°, -1°, -2° and -3° incidences, in Upper and Lower architectures and for V3 and Micro V3 Atmo diameters.
The Shim Tail 0° corresponds to the reference incidence defined for each Tail Wing.
It does not mean that the rear wing sits horizontally at 0° relative to the fuselage. Depending on the model, its mount may already natively incorporate several degrees of incidence.
0° simply means that the Shim Tail adds or removes no angle relative to the calculated optimum behaviour for the Tail Wing, the one we would use on an equivalent one-piece stab.
In fact, we machine a mount directly into the carbon, shaped like the footprint of the shims and the shim tail under or on the tail wings. The outer face of this mount is at 0°. It is this mount that creates the tail wing's native angle with the 0° shim (the fuselage axis). Integrating this angle natively avoids having to use shims with very steep angles that would be highly asymmetrical, very thick, and would offset the retaining screws in the fuselage. Choosing to integrate the angle we recommend for each tail wing shape is therefore logical and optimises every parameter.
It is always the best starting point for discovering a Tail Wing and then understanding the effect of the other settings.
U+1°, L+1°: less front foot pressure than the calculated optimum of the Tail Wing profile. This setting requires more back foot pressure or means moving the foil forwards in the boxes. It promotes glide without pull in the hands (downwind, freefly), but delays take-off and limits control as speed increases.
U0°, L0°: optimum balance according to our calculations. This does not mean a Tail Wing that is horizontal relative to the fuselage, but rather no added or removed angle relative to its reference incidence.
U-0.5°, L-0.5°: adds a little front foot pressure. The foil becomes more reactive and livelier, without radically changing the setup's behaviour.
U-1°, L-1°: the difference becomes noticeable. The foil requires more front foot pressure and some riders will need to move it back in the boxes or shift their hips well forwards. This setting lets you push hard through the front foot without the aircraft collapsing nose down.
U-2°, L-2°: takes the effects of -1° to an XXL level. The behaviour becomes radical and demands real mastery of your pressure distribution.
U-3°, L-3°: an extreme setting, rarely useful with GONG Tail Wings but potentially relevant with other designs. The foil becomes full front foot and will often need to be moved a long way back in the boxes.
Tail Shaft length amplifies or softens the feel. The Short will be lively, the Medium balanced, and the Long cooler and more progressive.
Pairing a Short Tail Shaft with a -3° will send you to the moon, while a Long with +1° will deliver an extremely calm ride.
A wing, a lowkite or a kite pulls the rider forwards and changes the natural balance of their pressure distribution on the aircraft.
A negative setting adds more front foot pressure and lets you oppose this pull from the rig more effectively. The rider can sheet in, accelerate and transfer the pull into the front leg without letting the foil collapse nose down.
This setting is more physical, but it makes pressure more consistent. It avoids having to move your hips back and shift your centre of gravity at high speed, which would add a particularly sensitive variable in controlling the aircraft.
Without a rig, excess front foot pressure can make the nose rise unnecessarily when dropping into bumps or during strong accelerations.
+1° reduces the Tail Wing's nose-up effect, lets the aircraft glide more freely and limits these nose rises on every bump descent, for example.
In return, the foil takes off later, requires more back foot pressure and can lose control at high speed because you have to push more and more through the back foot as speed builds. So this is a very specific setting, to be chosen with full awareness of its effects.
The Shim Tail Upper fits exclusively with a Tail Shaft Upper and a Tail Wing Upper.
The Shim Tail Lower fits exclusively with a Tail Shaft Lower and a Tail Wing Lower.
Both architectures offer the same angles and the same precision, but their position in the water changes their practical and hydrodynamic benefits.
The Upper places the Tail Wing above the Shim Tail. It is better protected from contact with the bottom and is particularly well suited to beach starts, surf foiling, waveriding and launches in shallow water.
The Lower places the Tail Wing below the Shim Tail. It sits further from the surface and from the disturbed wake of the Front Wing. This architecture reduces the risk of ventilation and maximises efficiency, especially in downwind, pumping, freefly or high-performance freeride.
In return, a Tail Wing Lower is more exposed to contact with the bottom.
Upper and Lower architectures are not interchangeable.
The Shim Tail diameter must match that of the Tail Shaft.
V3 and V3 Atmo are the same standard. There is no technical difference, it is simply an aesthetic update. So your entire V3 system is 100% compatible with V3 Atmo parts.
Please note:
A standard V3 Atmo Tail Shaft uses a V3 Atmo Shim Tail.
A Micro V3 Atmo Tail Shaft uses a Micro V3 Atmo Shim Tail.
The two versions are not interchangeable on the Tail Shaft side, because their section and interface are different.
The Tail Wings, however, remain common to both diameters thanks to an identical footprint. So the same Tail Wing can move from a V3 platform to a Micro V3 Atmo platform by using the appropriate Tail Shaft and Shim Tail.
The aluminium version offers the best balance of precision, stiffness, accessibility and the ability to multiply angle options at a lower cost.
You will, however, need to replace aluminium parts regularly because of galvanic corrosion. This corrosion can happen inside the part, without you being able to see it. To avoid an unexpected breakage offshore, we recommend using protection methods and products for aluminium parts and replacing these parts every year, just like your leashes for example. It is a safety issue. A foil that breaks offshore can put you in a very difficult situation. We sell aluminium parts at deliberately very low prices to help you renew them at the pace this material requires. Do not conclude that GONG aluminium is worse than others, that is false. We are simply being cautious and prefer to keep users safe by informing them.
It is the logical choice for gradually building your quiver of settings, testing different incidences and regularly evolving your setup.
The titanium version is the most premium option. It delivers maximum mechanical strength, durability and finish quality, especially for riders who put heavy loads through their gear or change configuration very frequently.
Both materials use the same geometries, the same angles and the same compatibilities. So the choice depends on budget, intensity of use and the level of finish you are looking for.
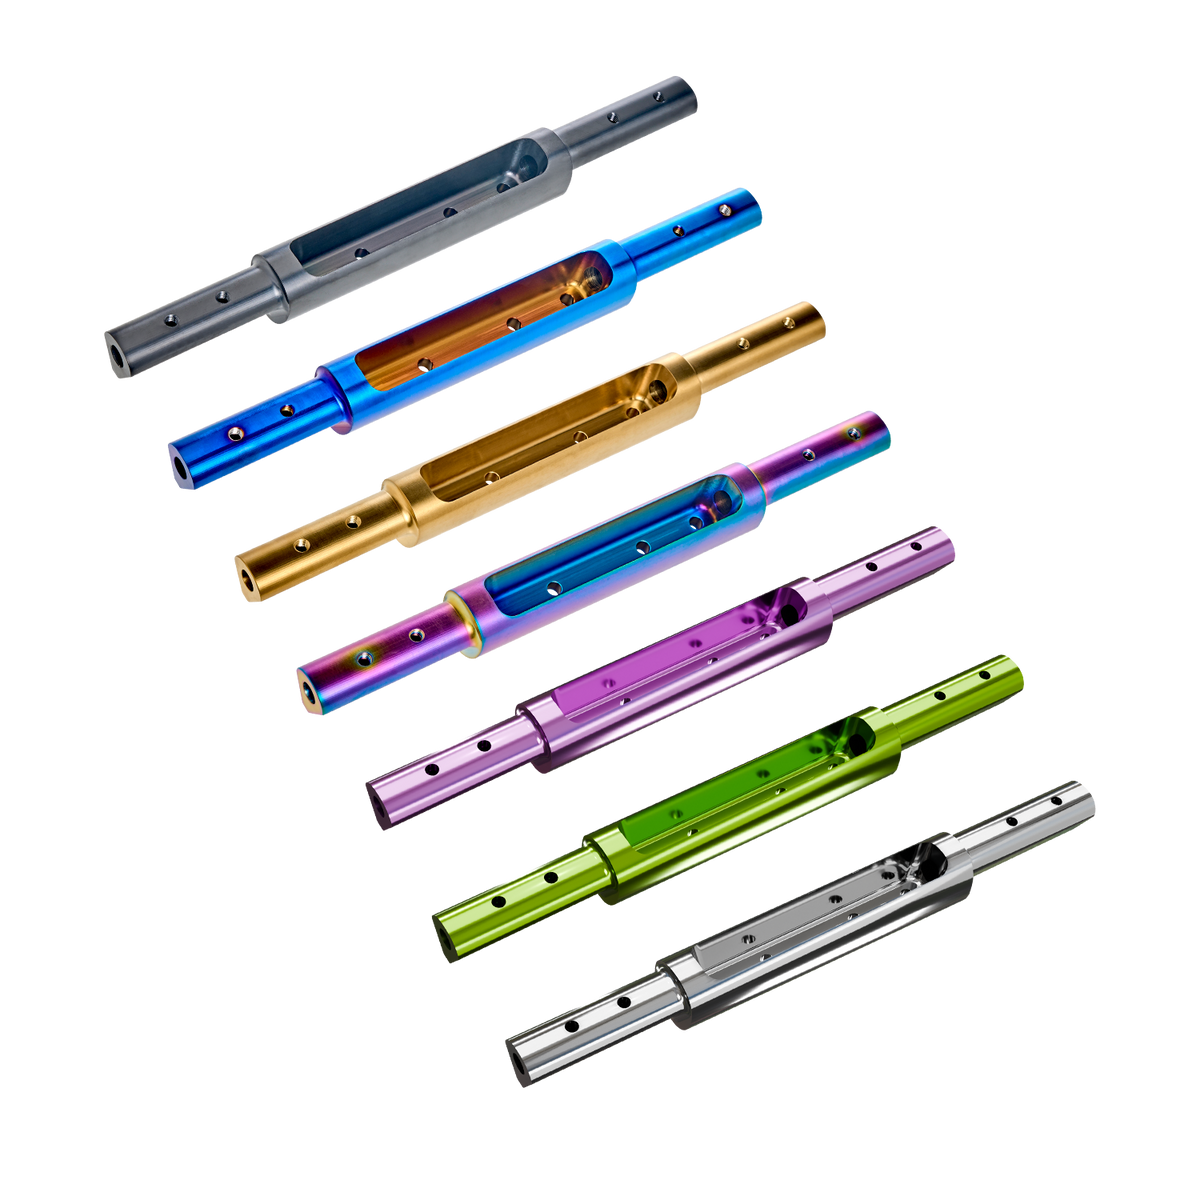
As for colour, simply choose the one that makes you want to ride most.
The aluminium version offers the best balance of precision, stiffness, accessibility and the ability to multiply angle options at a lower cost.
You will, however, need to replace aluminium parts regularly because of galvanic corrosion. This corrosion can happen inside the part, without you being able to see it. To avoid an unexpected breakage offshore, we recommend using protection methods and products for aluminium parts and replacing these parts every year, just like your leashes for example. It is a safety issue. A foil that breaks offshore can put you in a very difficult situation. We sell aluminium parts at deliberately very low prices to help you renew them at the pace this material requires. Do not conclude that GONG aluminium is worse than others, that is false. We are simply being cautious and prefer to keep users safe by informing them.
It is the logical choice for gradually building your quiver of settings, testing different incidences and regularly evolving your setup.
The titanium version is the most premium option. It delivers maximum mechanical strength, durability and finish quality, especially for riders who put heavy loads through their gear or change configuration very frequently.
Both materials use the same geometries, the same angles and the same compatibilities. So the choice depends on budget, intensity of use and the level of finish you are looking for.
As for colour, simply choose the one that makes you want to ride most.
Each Shim Tail must match both the Tail Shaft diameter and the Tail Wing architecture.
A V3 Upper Shim Tail works with a V3 Upper Tail Shaft and an Upper Tail Wing.
A V3 Lower Shim Tail works with a V3 Lower Tail Shaft and a Lower Tail Wing.
A Micro Upper Shim Tail works with a Micro Upper Tail Shaft and an Upper Tail Wing.
A Micro Lower Shim Tail works with a Micro Lower Tail Shaft and a Lower Tail Wing.
The Tail Wings remain compatible with both diameters thanks to their shared footprint.
Before assembly, always check the V3 or Micro diameter, the Upper or Lower architecture, and the incidence marked on the part.
Each Shim Tail comes with its dedicated screw set.
Stainless steel hardware designed to handle foil loads and marine use.
The Tail Shim V3 Atmo screws in from inside the Tail Shaft V3 Atmo using the standard GONG Torx assembly key. No visible screws on the outside at the rear of the Tail Shaft. The long screw used to connect the Tail Shim to the Tail Shaft is supplied with the Tail Shaft, as its length depends on the Tail Shaft length. Also available as a spare part, of course.
The Upper or Lower Tail Wing screws onto or under the corresponding Tail Shim using two screws. Two screw lengths are needed to fit the full range of Tail Wing models, as some rear wings are very thin.
These two screws are visible, in standard GONG M6, and therefore very easy to fit and remove.
A quick connection to install, perfectly rigid while riding, and easy to remove after the session.